JANUARY 2007
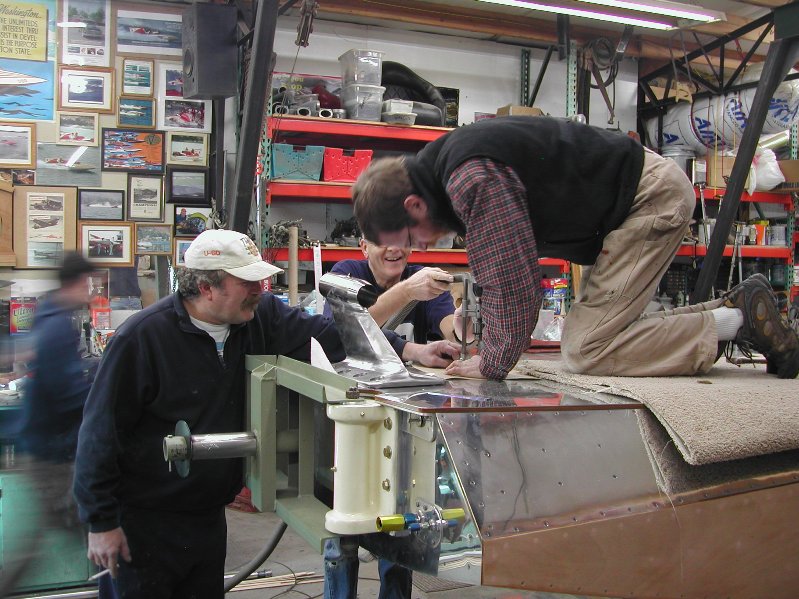
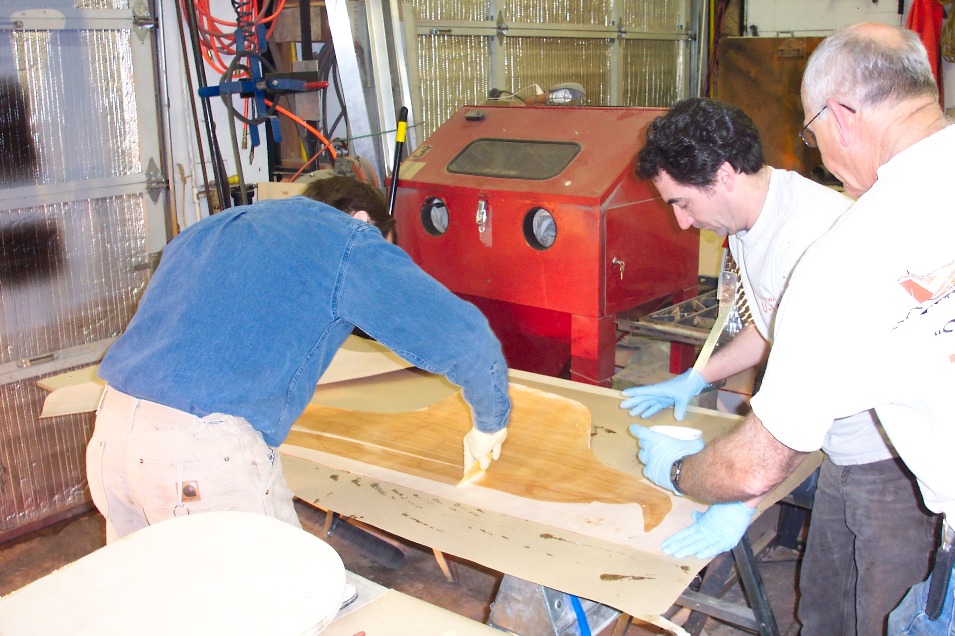
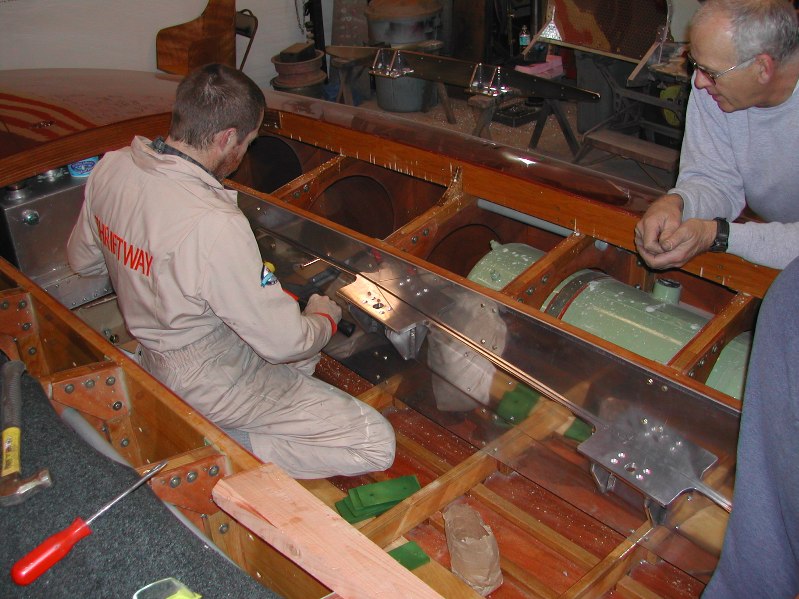
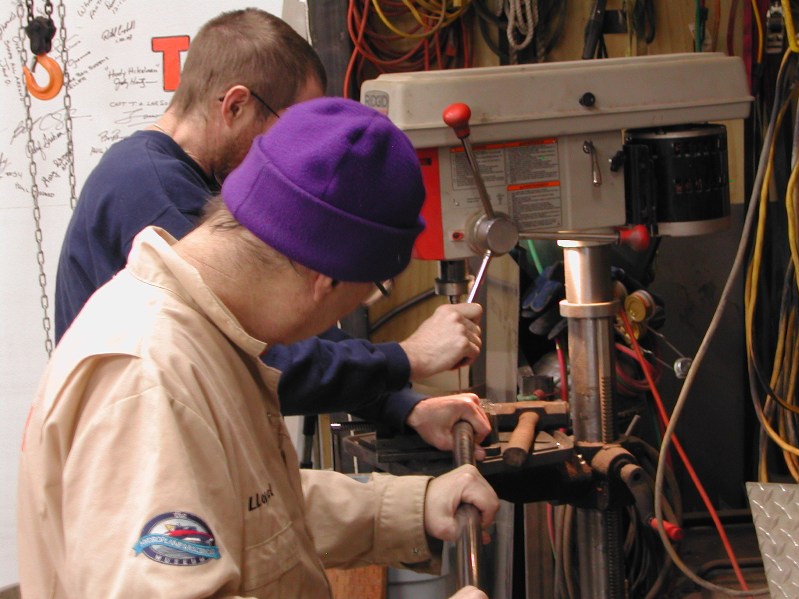
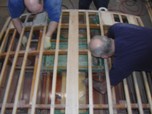
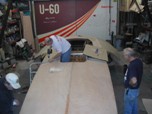
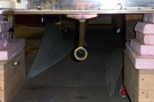
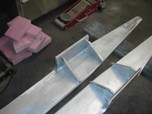
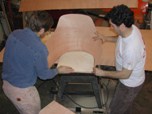
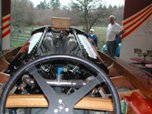
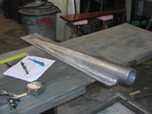
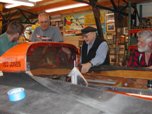
January 6
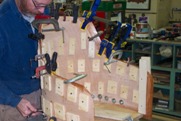
Larry, Chief and Rob locating and drilling the holes for the strut
|
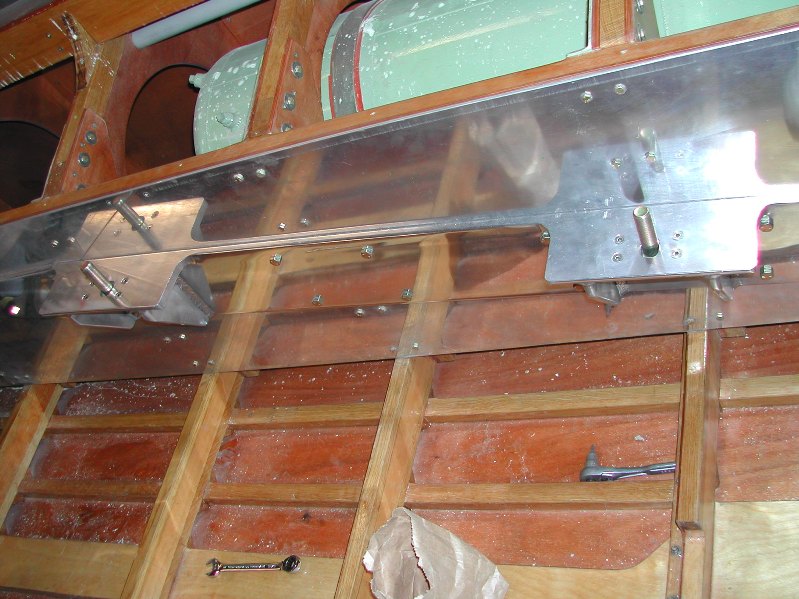
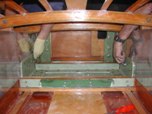
January 6
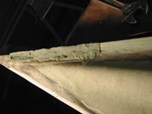
After the holes were located, the reinforcing plate was removed & drilled on a drill press. Steve & Larry are reinstalling it with Hysol.
|
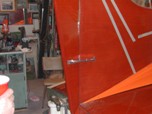
January 6
That should hold it!
|
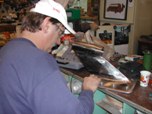
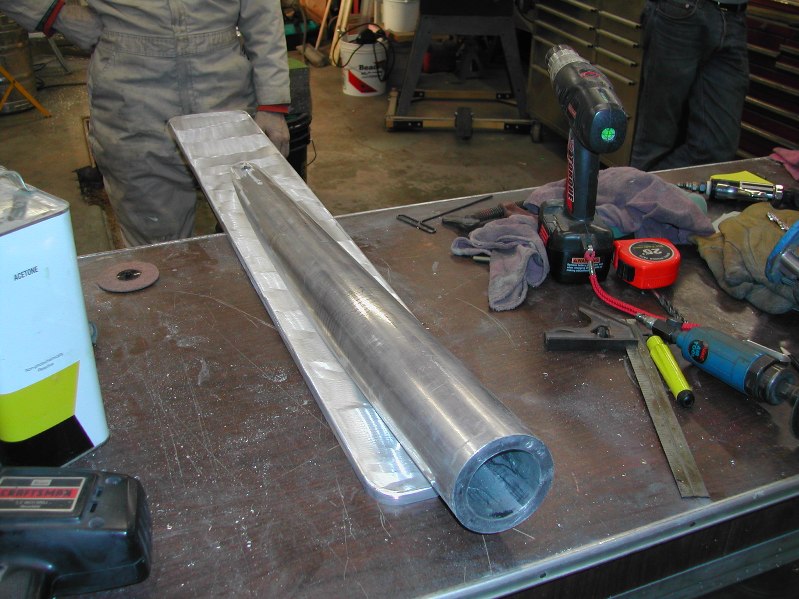
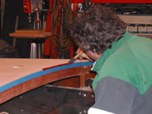
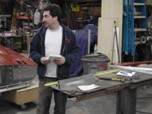
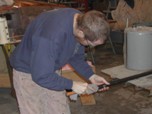
January 6
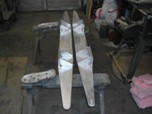
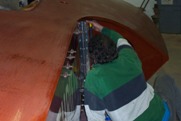
Stuart working on detailing out the strut
|
January 6
Next to last piece...
|
January 6
Last piece...
|

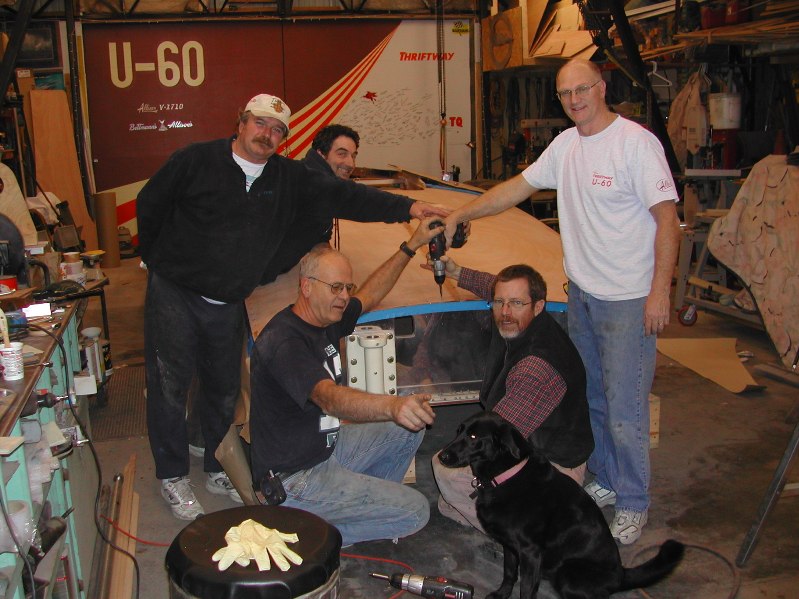
January 6
LAST SCREW!!!!!!!!
Chief,Lars,Aldo,Millie
Scooter and Woody
|
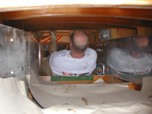
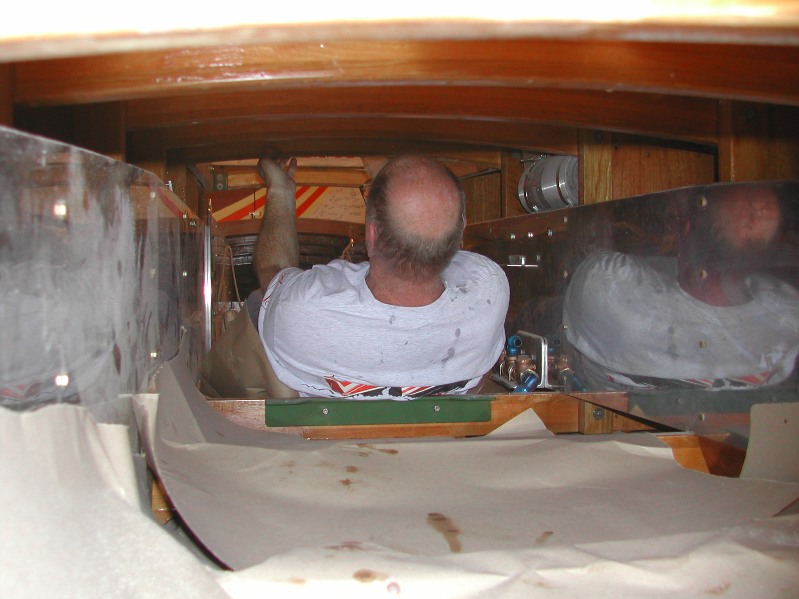
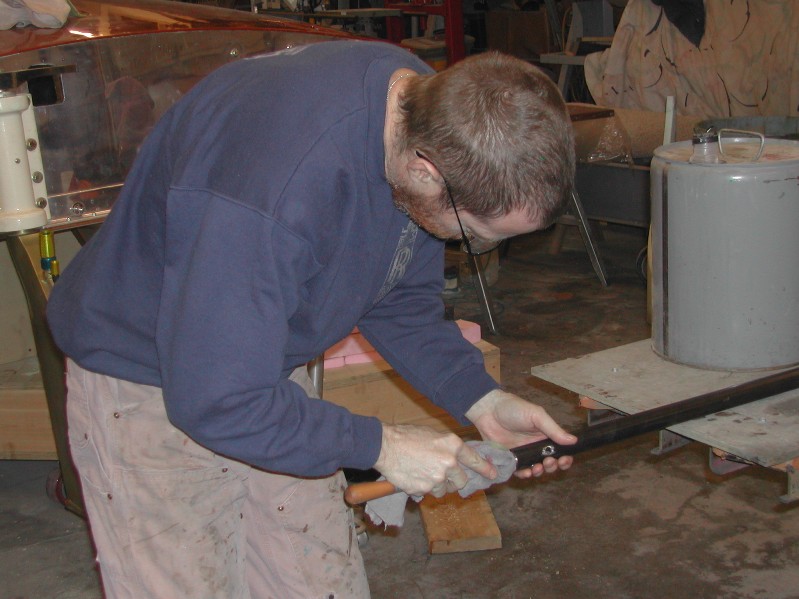
January 6
Steve climbing out after cleaning up the drips - (picture taken through the steering hole)
|
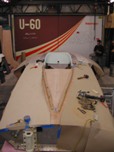
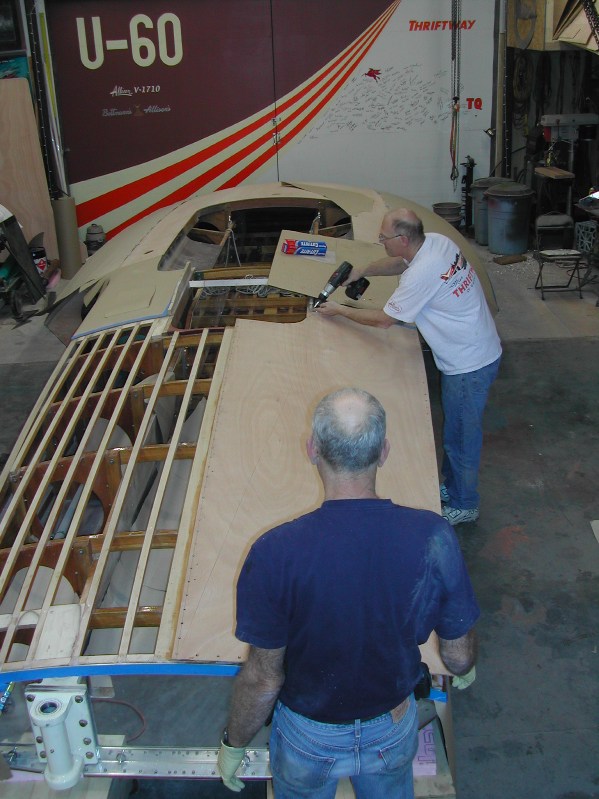
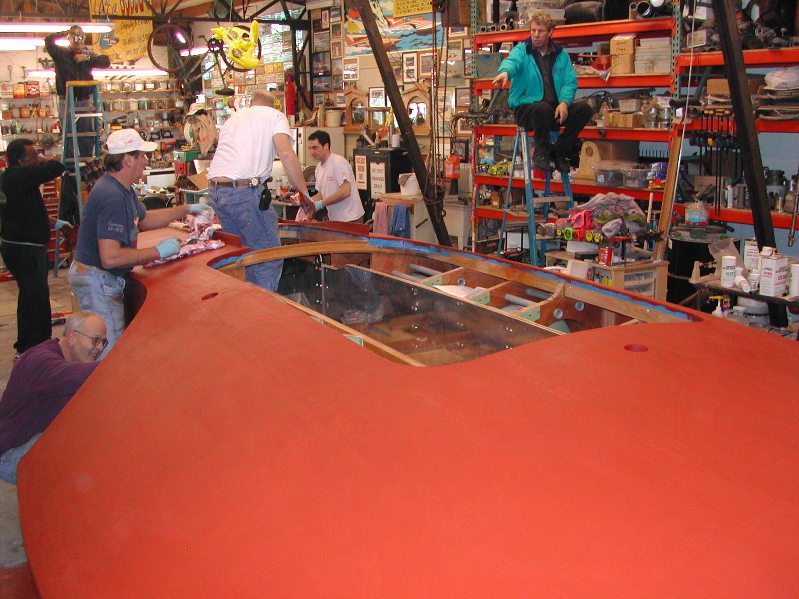
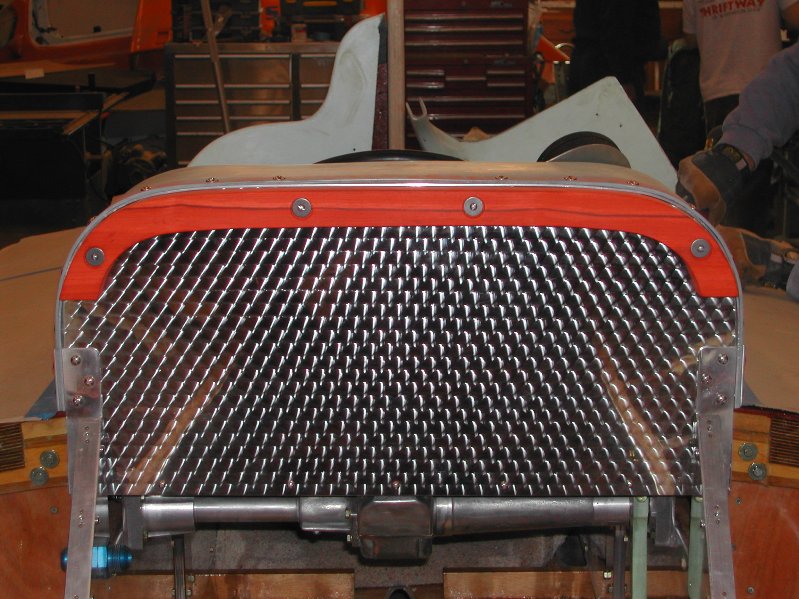
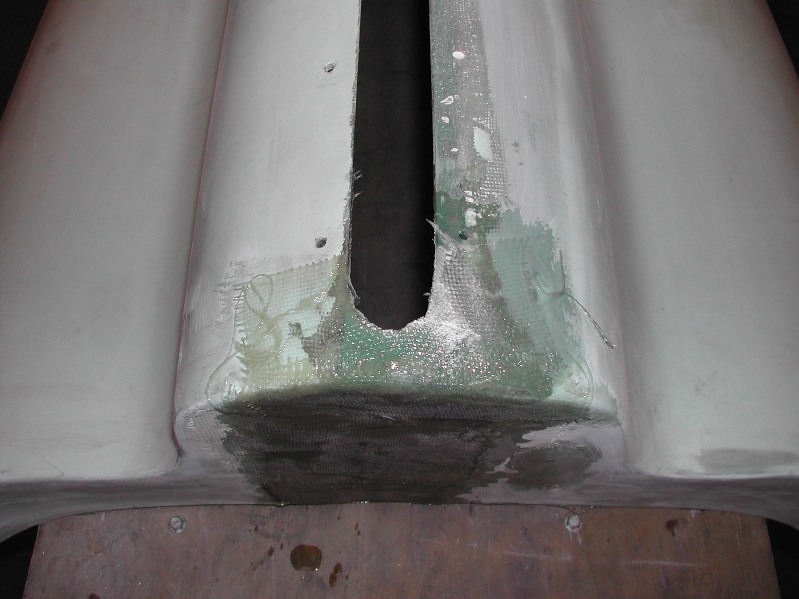
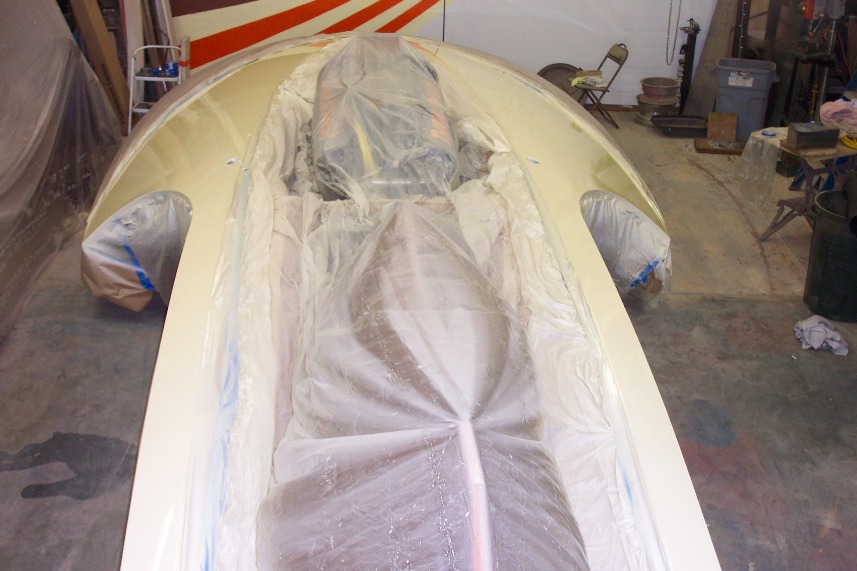
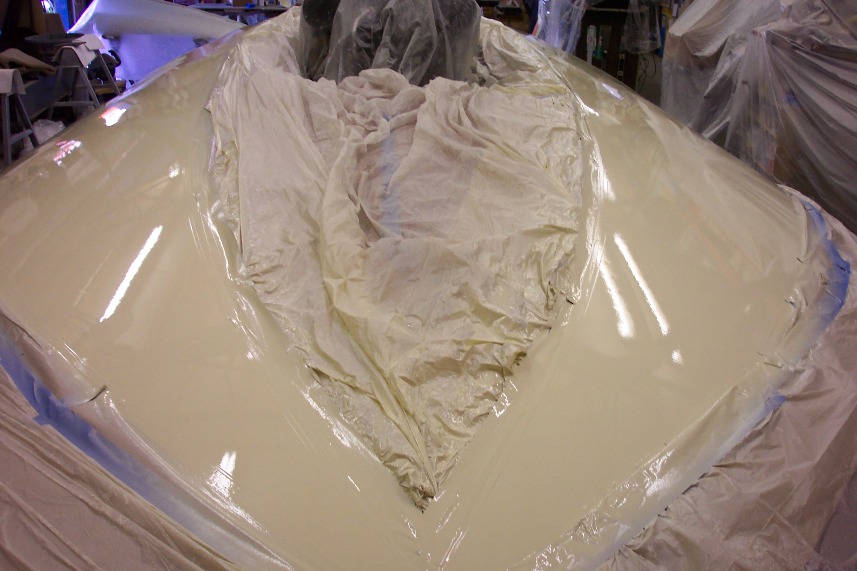
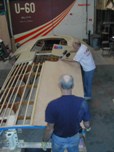
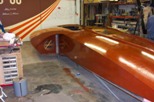
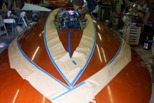
January 13
Cowling combing
|
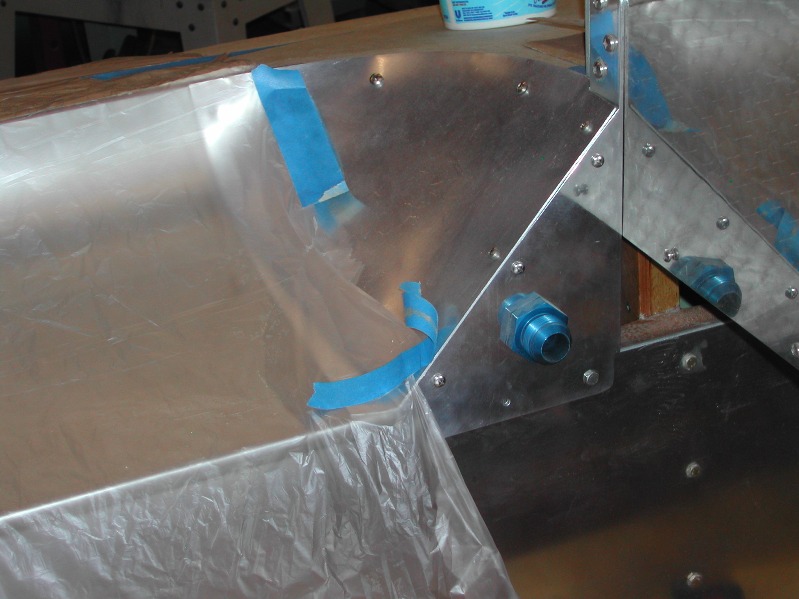
January 13
Flash pan corners
|
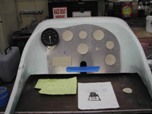
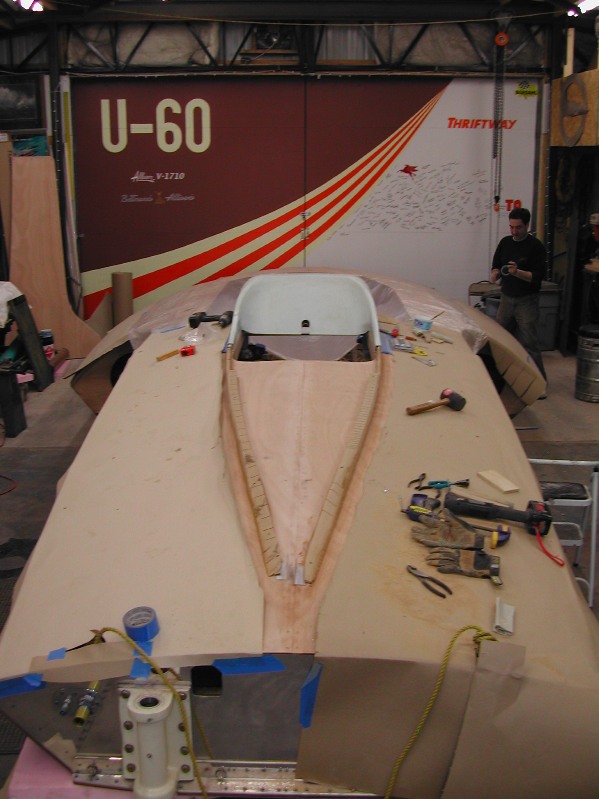
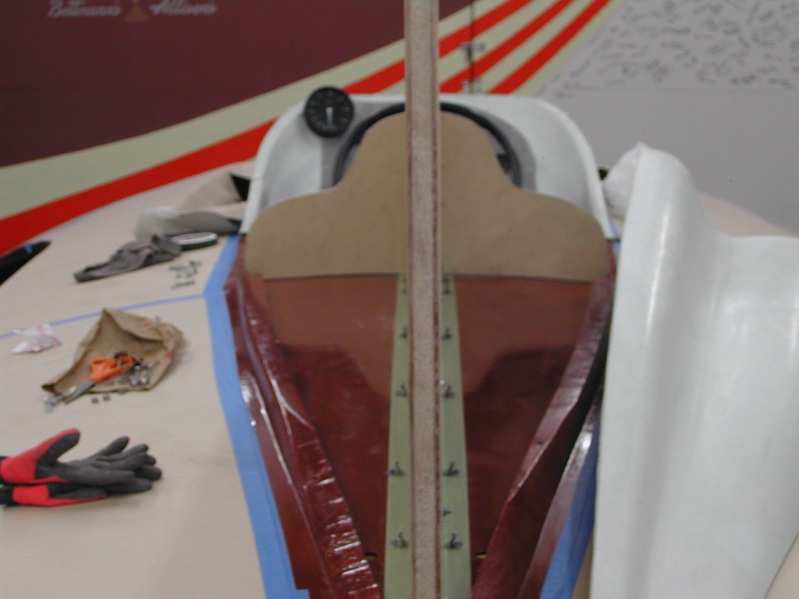
January 20
Dash Layout by Peter Orton
|
January 20
Woody's getting ready!
|
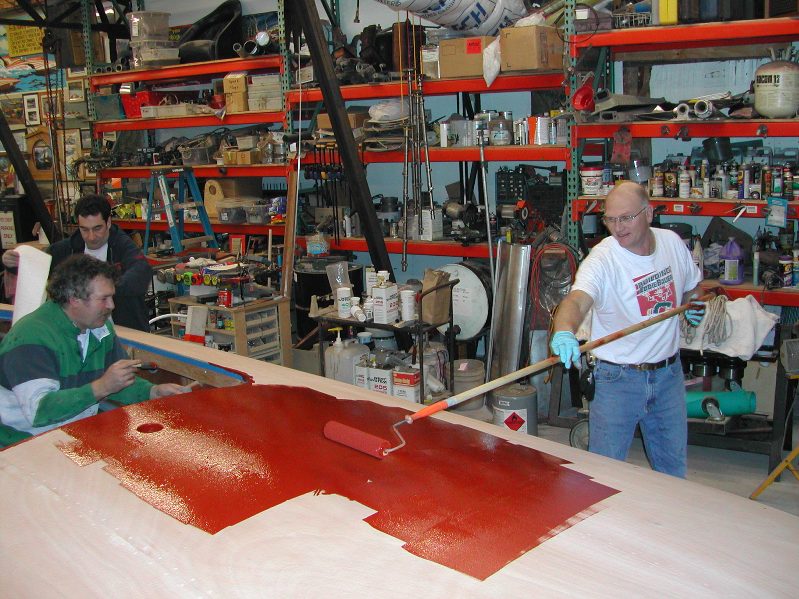
January 20
Chief is putting on the first stroke!
|
January 20
OK...Let's GO!
|
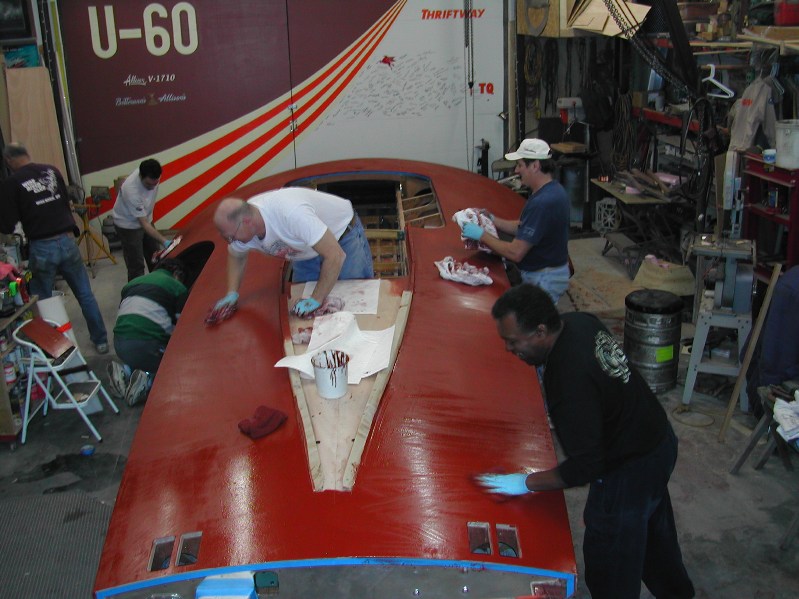
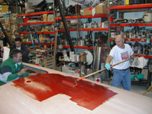
January 20
WOW...Is that RED!?!?
|
January 20
Wipe, wipe, wipe, wipe...
|

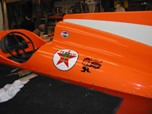
January 20
Peter is pointing out where there is some attention needed
|
January 20
Top view
|
January 20
Side view...now, let it dry!
|
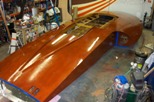
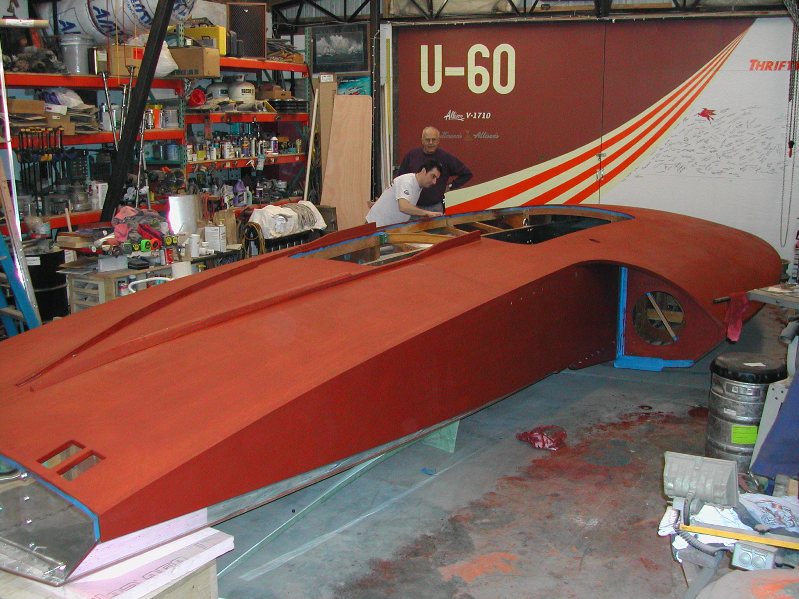
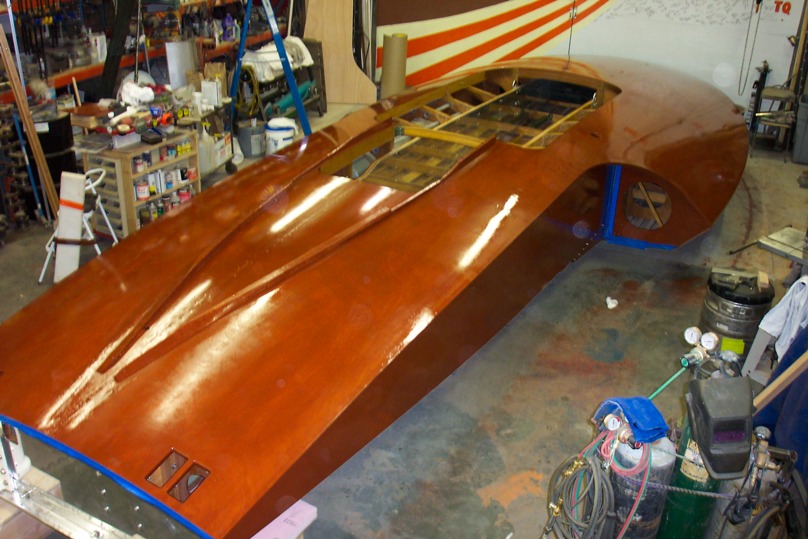
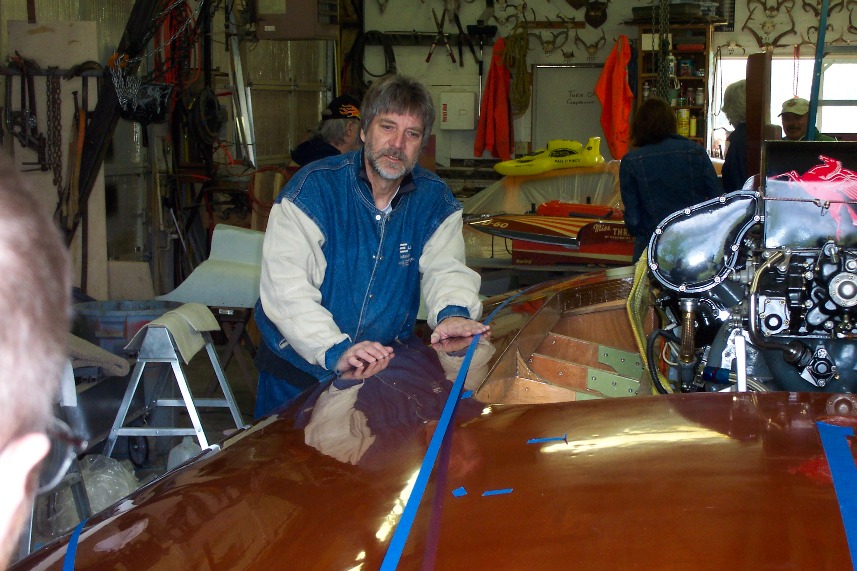
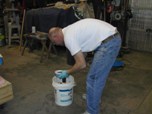
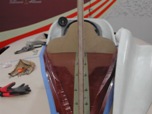
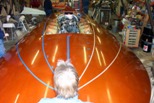
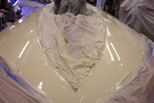
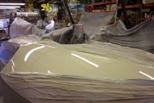
January 27
First coat of varnish
|
January 27
|
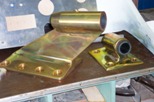
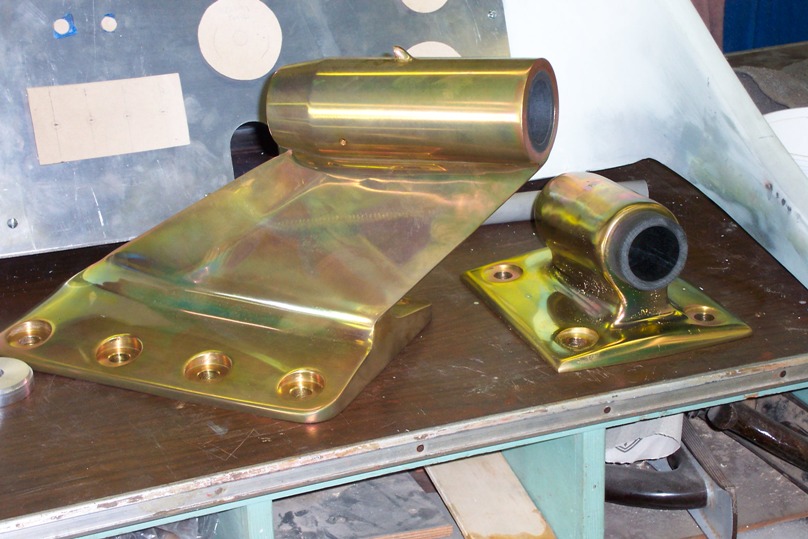
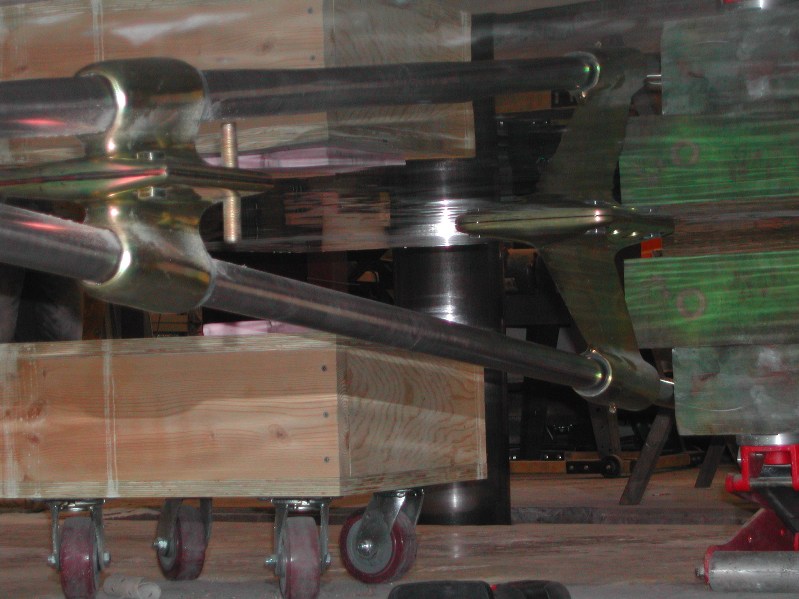
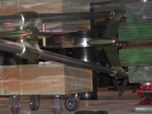
January 27
Strut & whip strut - Cad plated
|
January 27
|

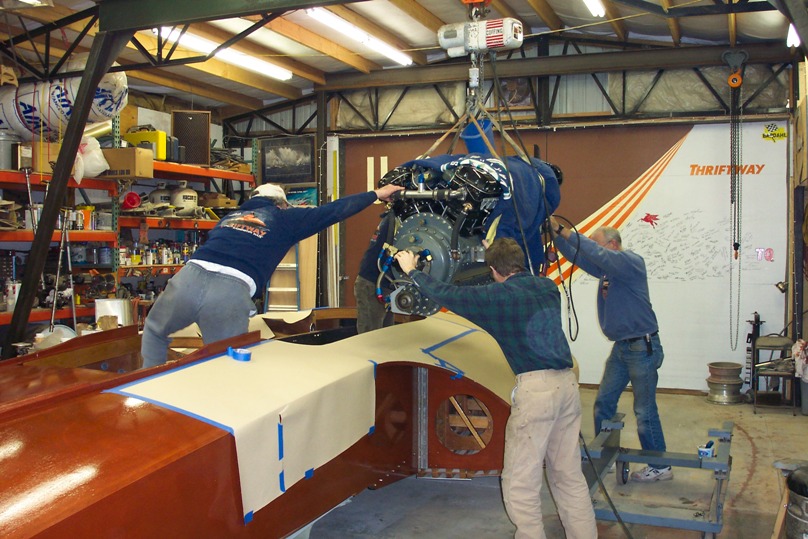
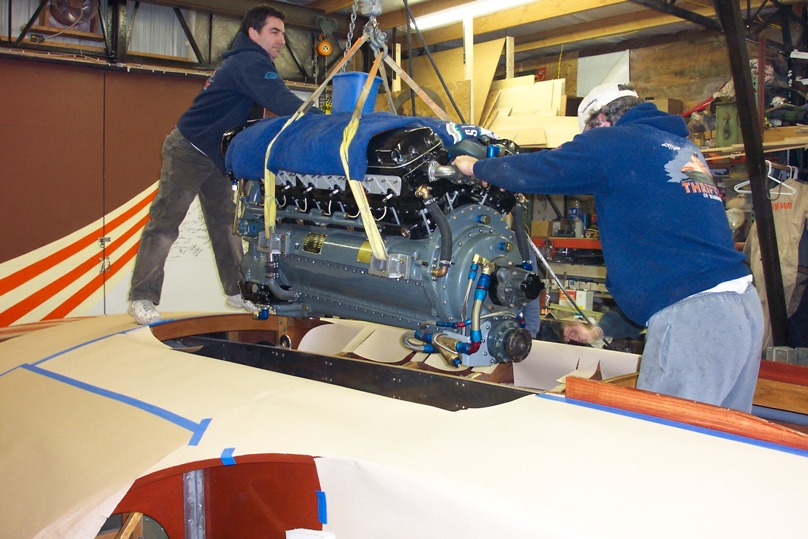
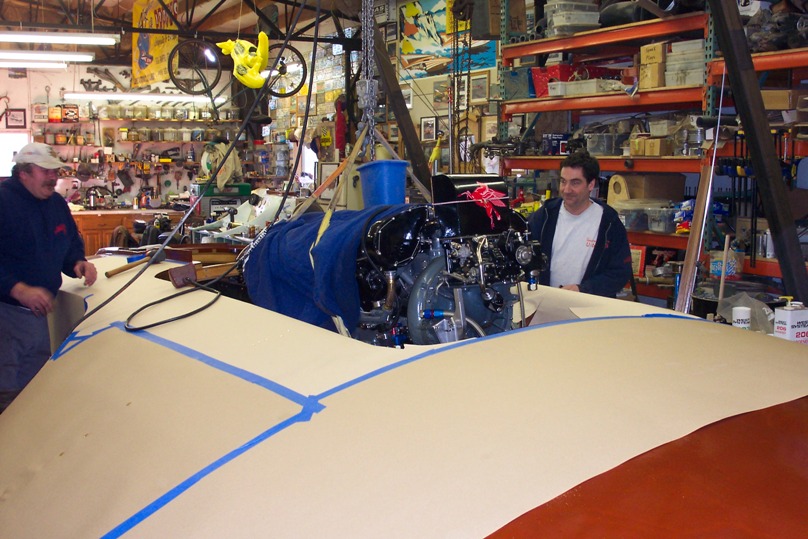
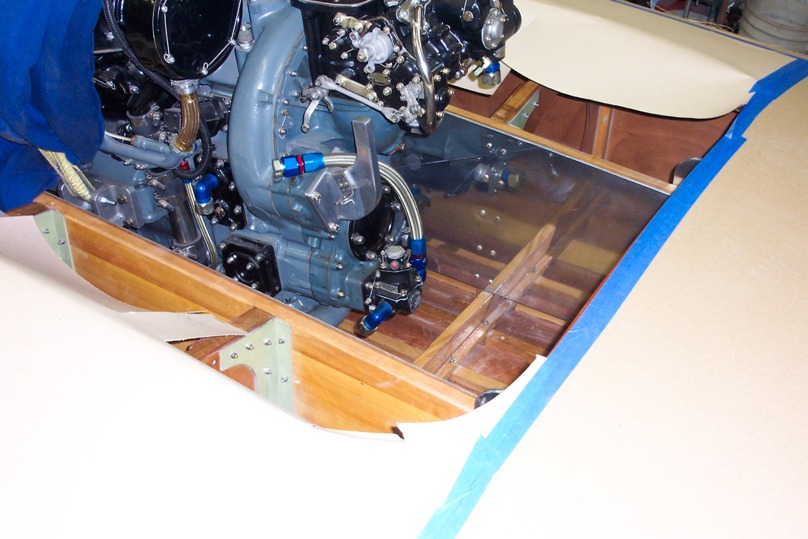
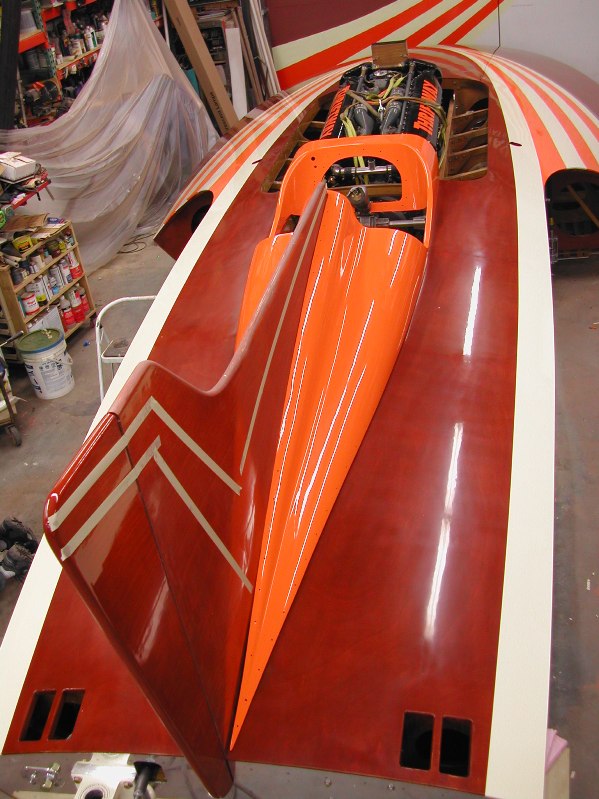
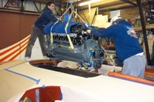
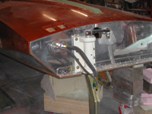
January 27
First meeting of REAL engine & hull
|
January 27
|

January 27
|
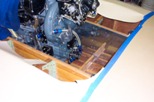
January 27
Plenty of room up front
|
January 27
If we make THIS angle, it should fit!
|
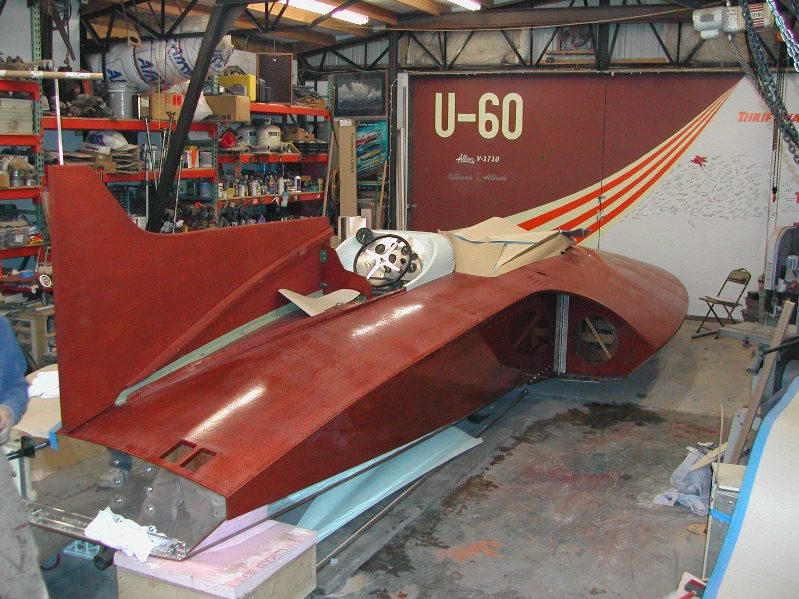
FEBRUARY 2007

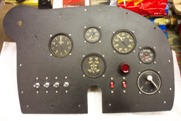
February 3
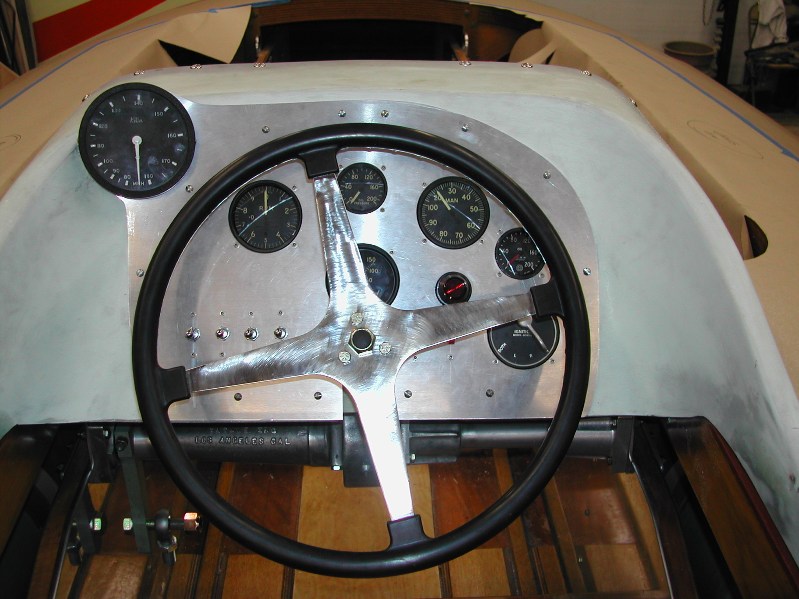
Dash with instruments installed
|
February 3
Engine rails ready to weld
|
February 3
Engine rail gussets
|
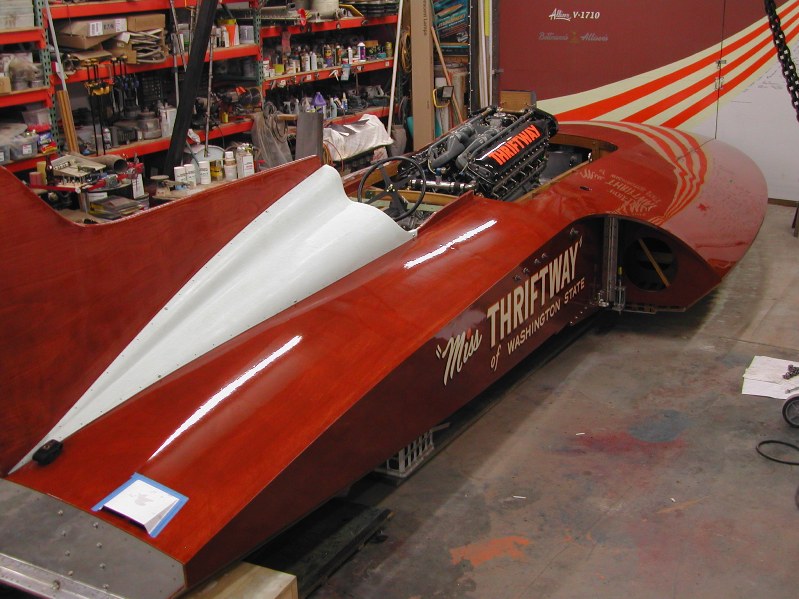
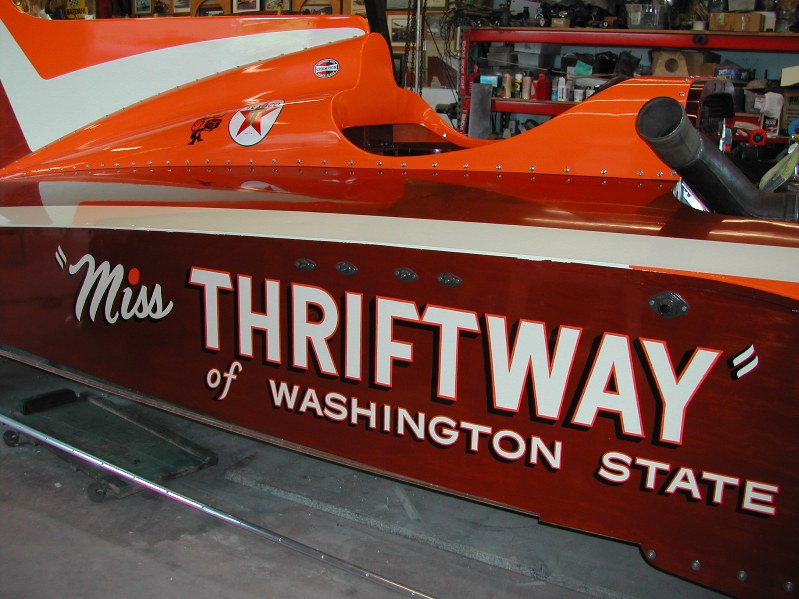
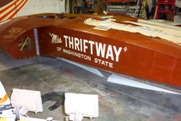
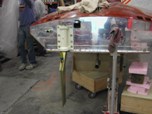
February 3
Richard Rutledge will be lettering the name on the boat in a couple of weeks.
|
February 3
Forward tail supports
|
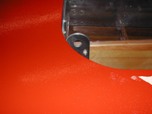
February 10
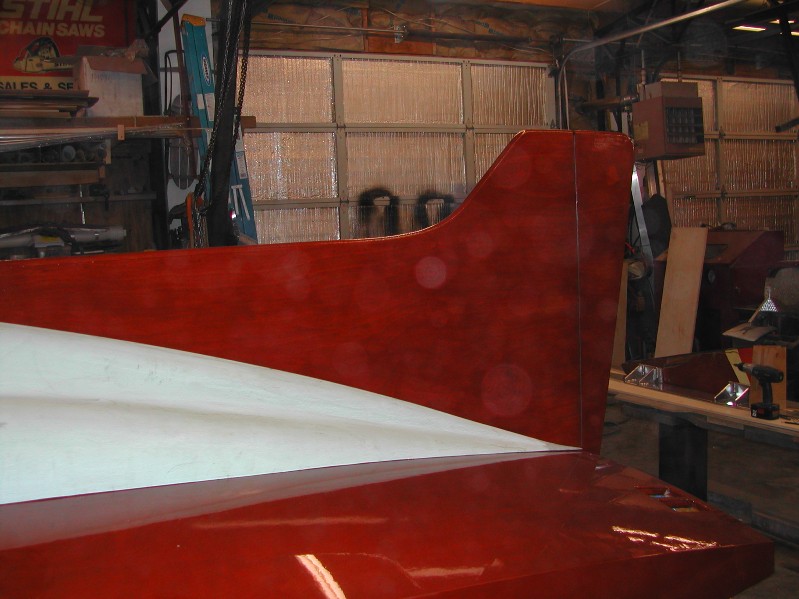
We replaced the "eyebrow" with a wood called Padouk
|

February 10
Fitting the rear cowl so they are even
|
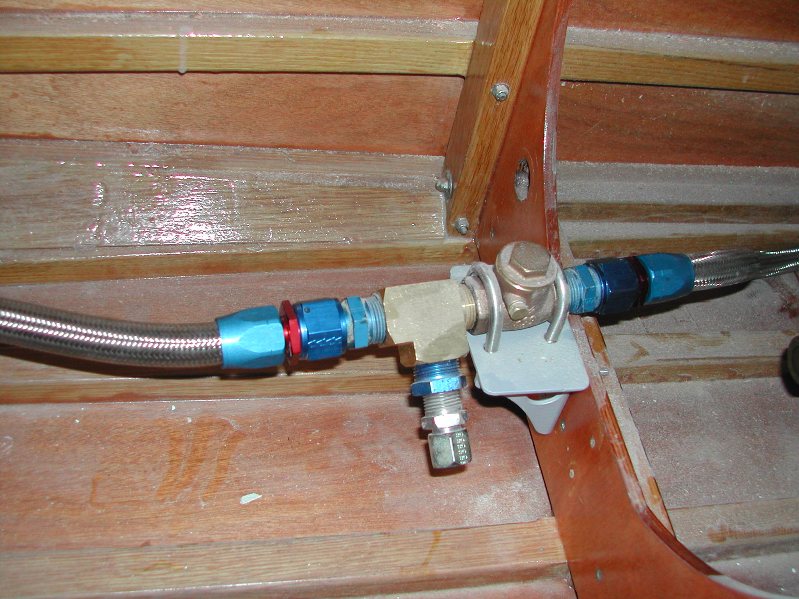
February 10
Our first hose!
|
February 10
Chief and Lars attaching the end fitting
|
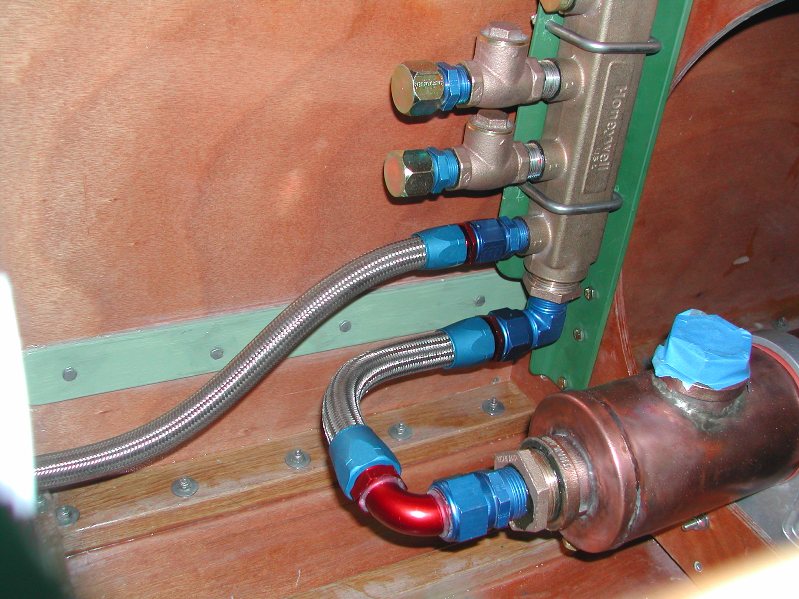
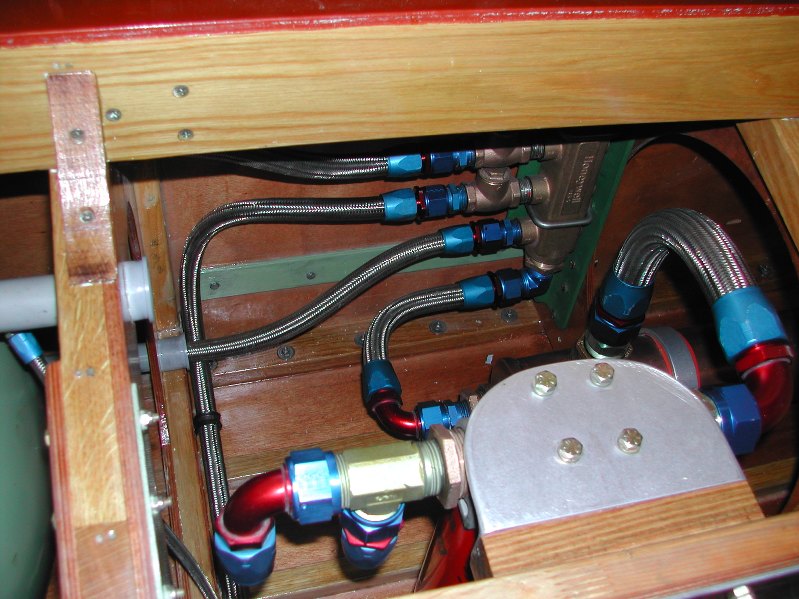
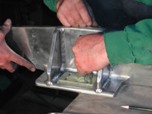
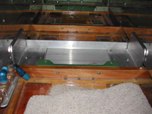
February 10
Water distribution block...3 in - 1 out
|

February 10
Water Tee and check valve for stuffing box cooling
|
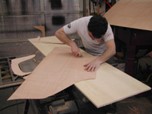
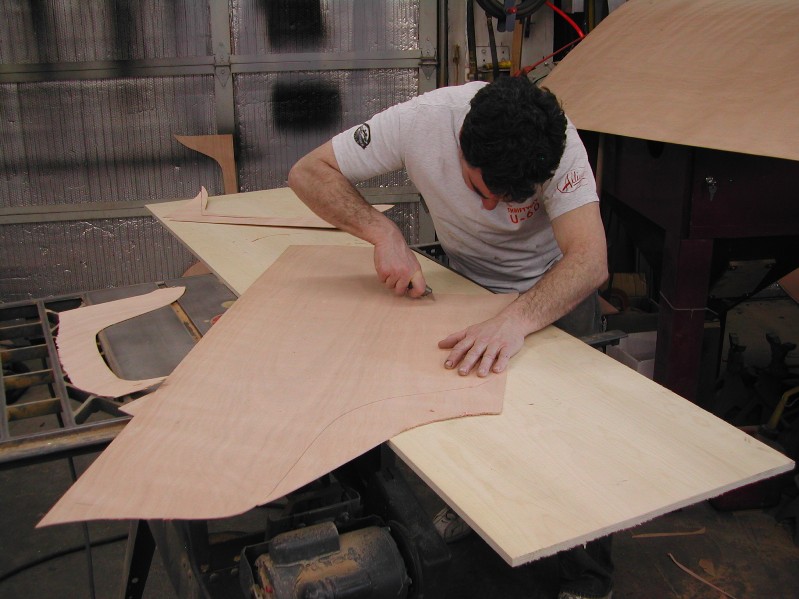
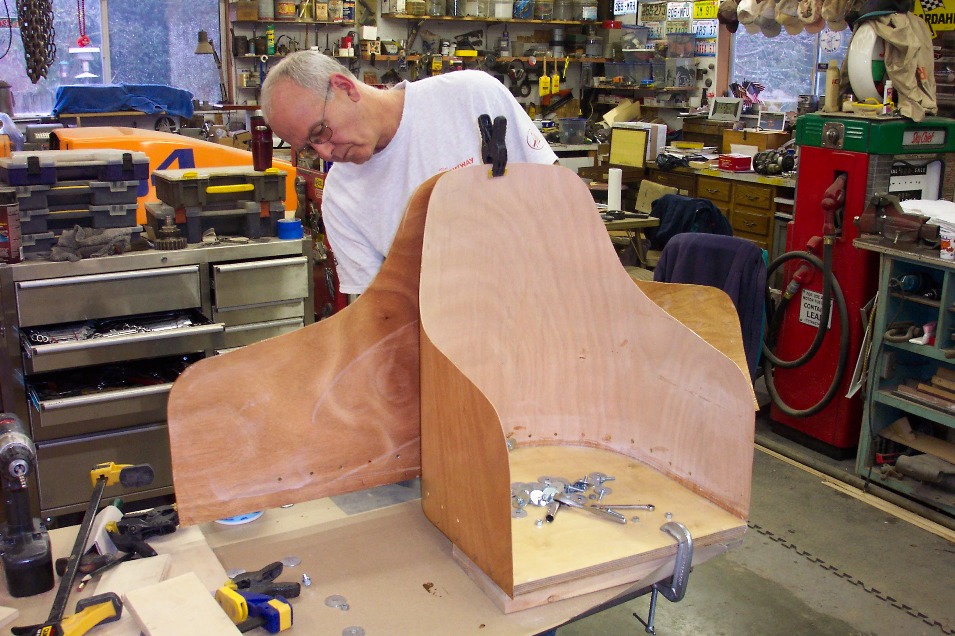
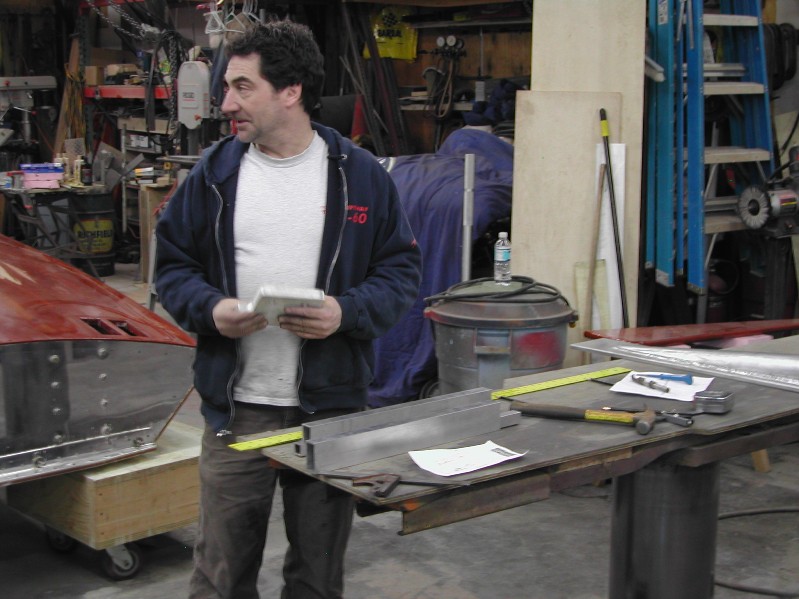
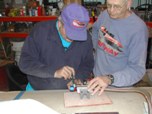
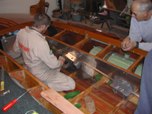
February 17
Alan cutting the pattern for the seat
|
February 17
Rob and Alan fitting the pattern to the seat bottom
|

February 17
Lars staining the tail
|

February 17
Stained tail
|
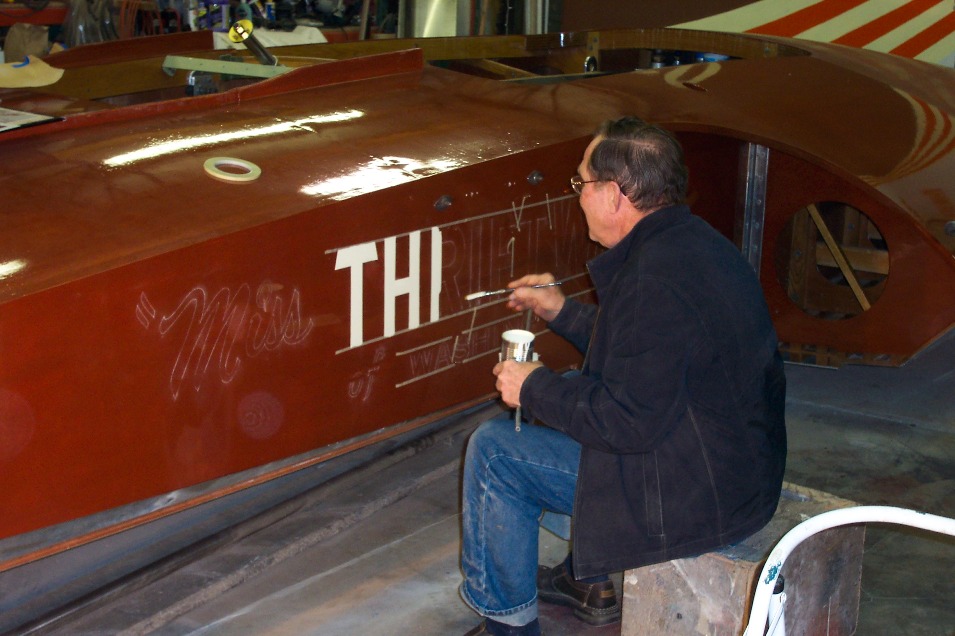
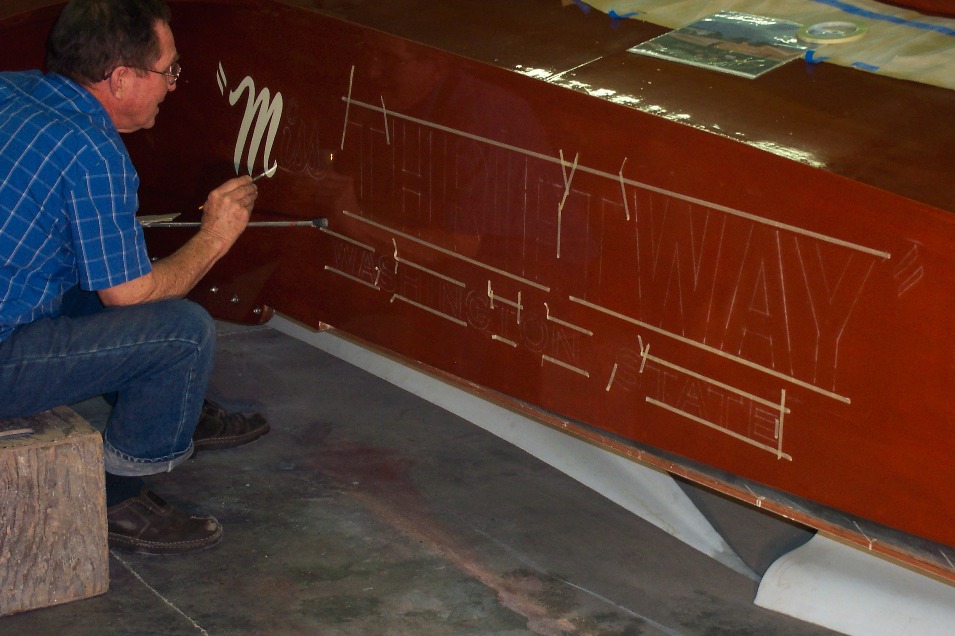
February 22
Wrinkle finish on dashboard
|
February 22
Chalk outline for name
|

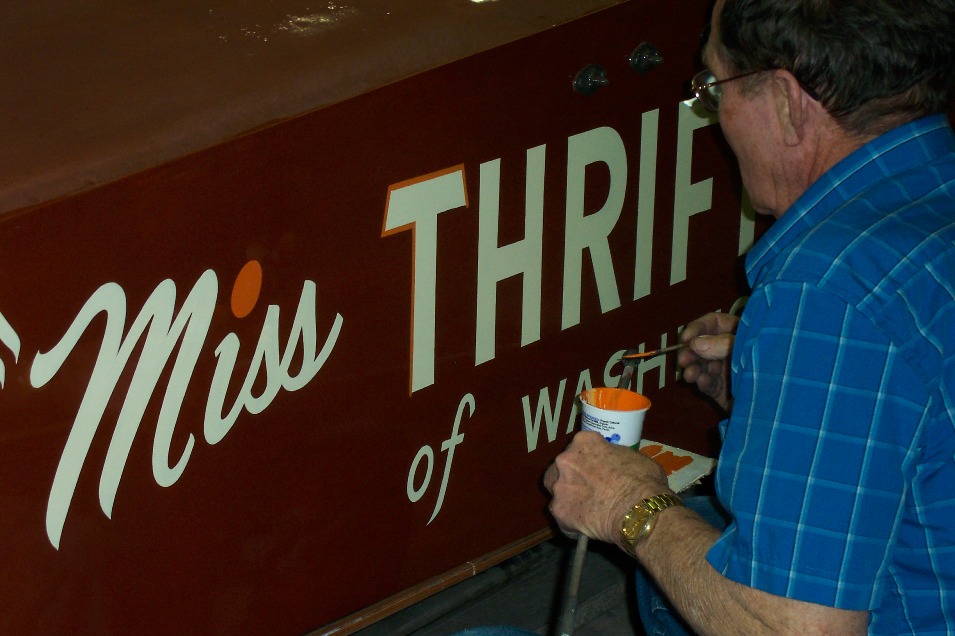
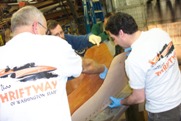
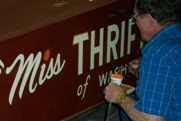
February 22
Richard starting the right side
|

February 22
Is he having fun or what!
|
February 22
Richard starting the left side
|
February 24
Left side ready for orange & shadow
|

February 24
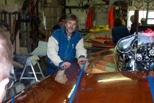
"Seat time"
|

February 24
Another layer
|
February 24
Larry, Rob and Alan
|
February 24
This is how the seat was "clamped" to hold all the layers
|
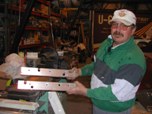
February 24
Chief installing the right side water pickup assembly
|
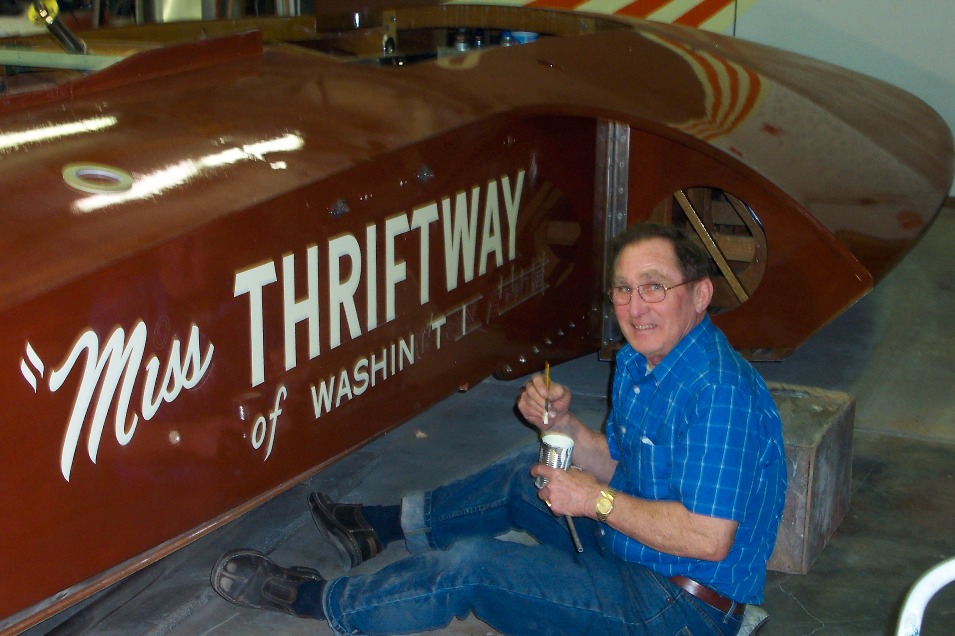
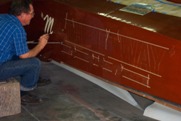
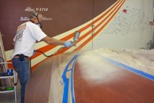
February 28
Richard came back to paint the orange outline
|
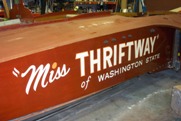
February 28
Looks GREAT!
|
February 28
Complete with shadow
|
February 28
No sense in letting the template go to waste...
|
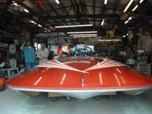
MARCH 2007
March 3
|
March 3
Trim tab attached
|
March 3
|

March 3
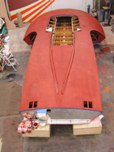
Now you get the idea
|
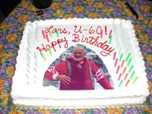
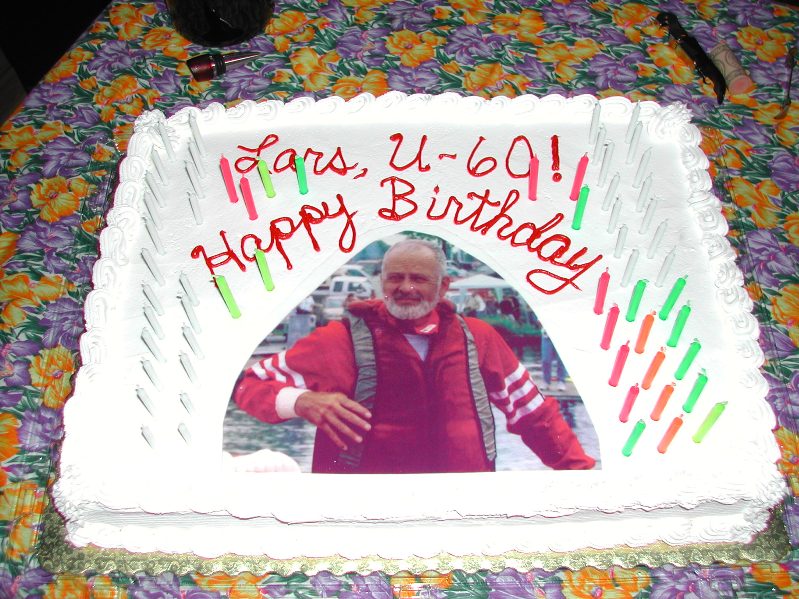
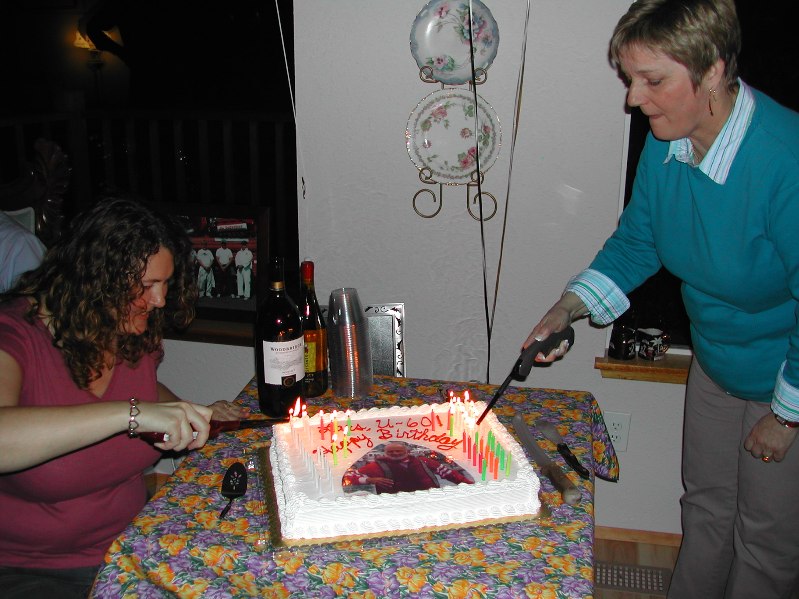
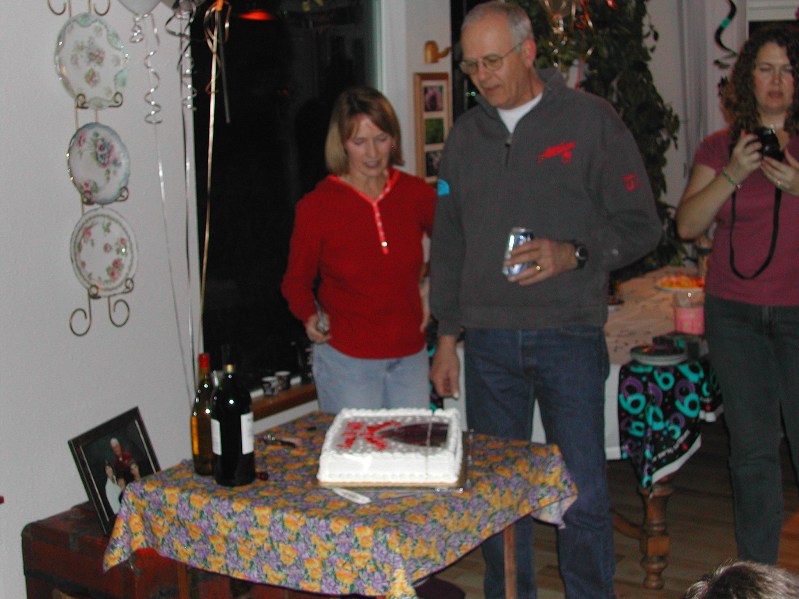
March 3
Guess who turns 60 on Sunday???
|
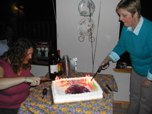
March 3
Lori Norton (Larrys daughter) and Mary Compton Light up the cake!
|
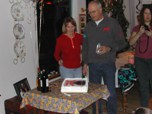
March 3
Karen and Larry comptemplating who gets the first piece...(Guess who!?)
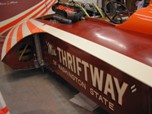
|
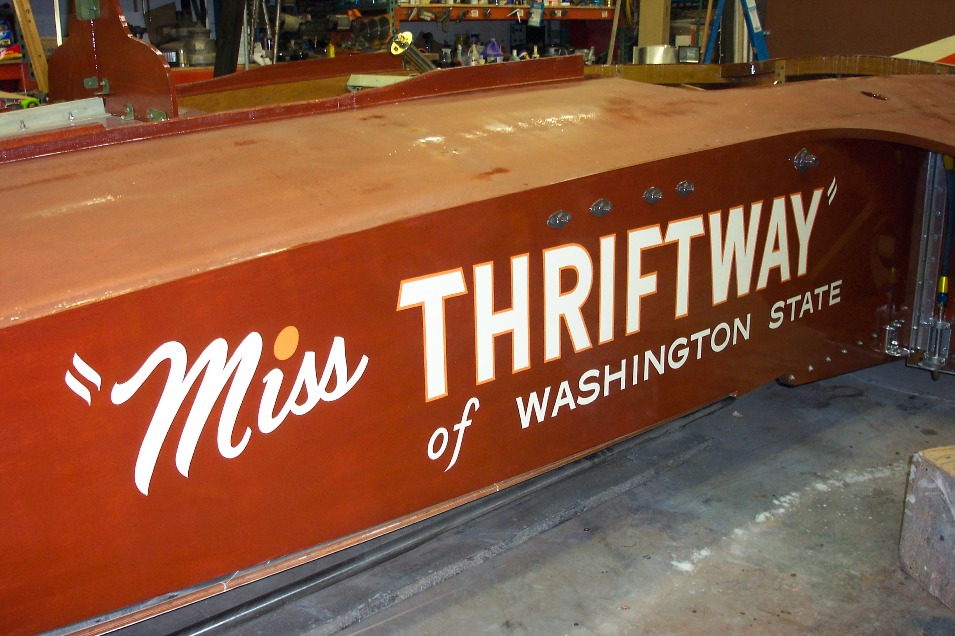
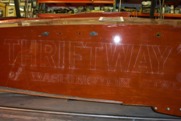
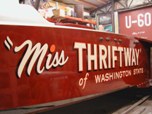
March 10
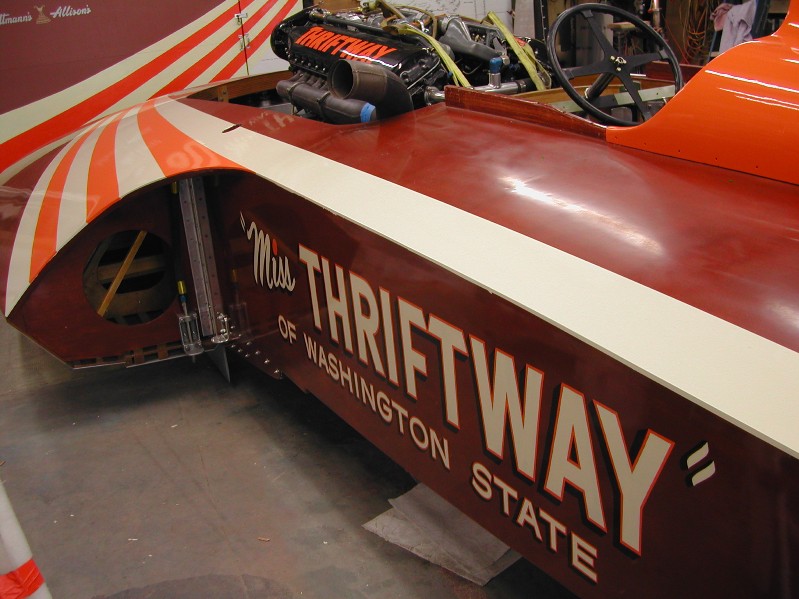
Left side name complete!
|
March 10
Steve & Larry collaborating on drilling the engine rail holes
|

March 10
Engine rails in place
|

March 10
Close to 1-1/2" spacing on the right side
|

March 10
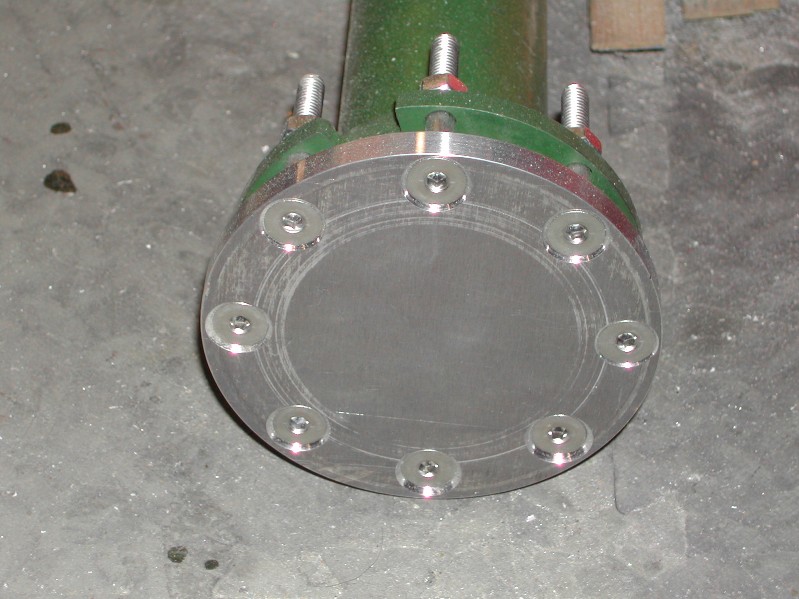
Time to work on the stuffing box
|
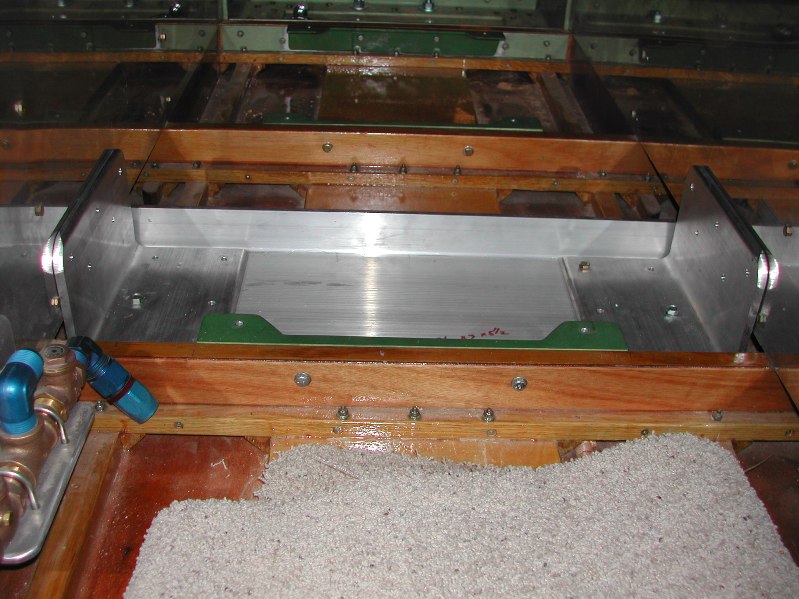
March 10
Getting closer to "Just add water"
|

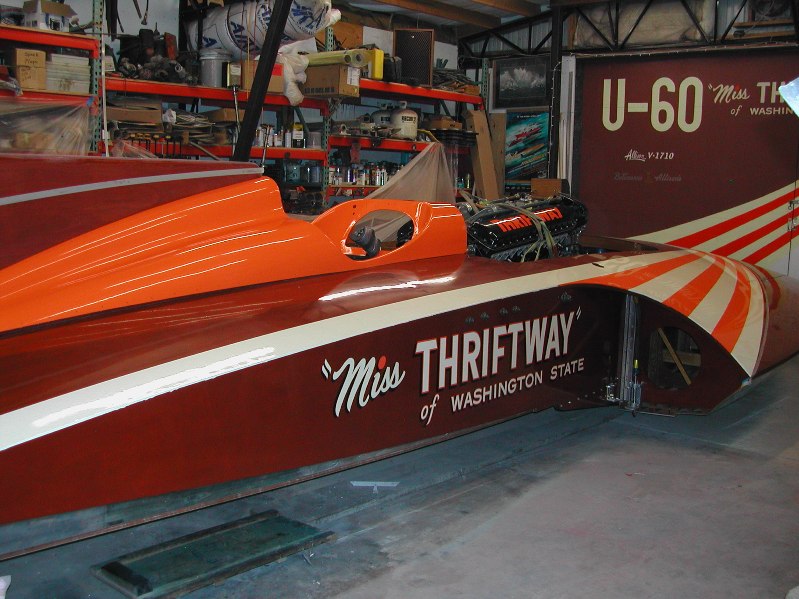
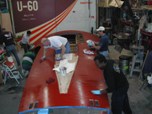
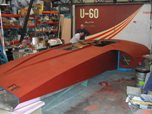
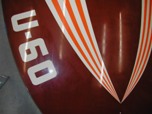
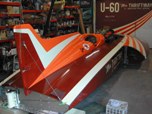
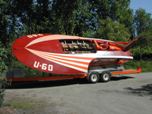
March 10
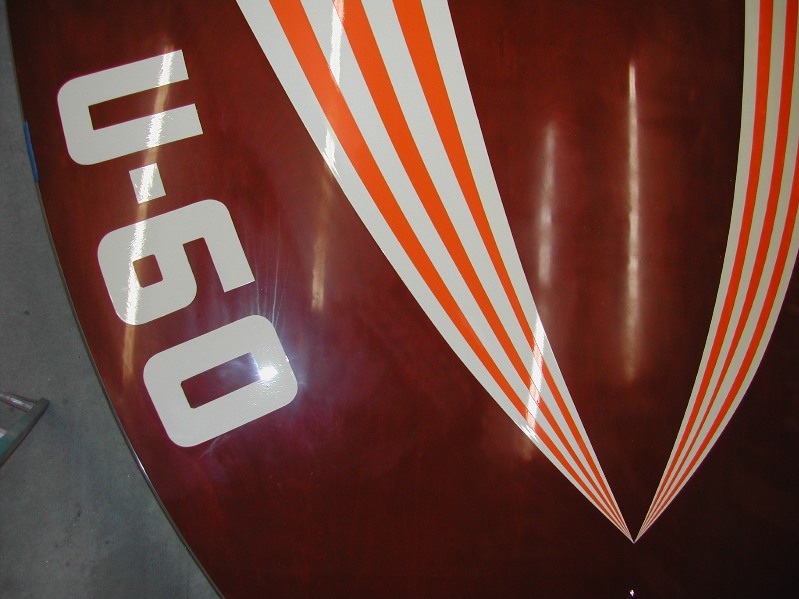
Just add Stripes and a U-60
|

March 10
Sittin' pretty without the straps
|
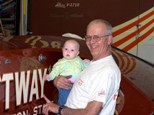
March 17
Larry and Grace
(4 months)
Our Youngest visitor yet!
|

March 24
Engine bolt plates
|
March 24
Installing the engine bolts
|

March 24
|
March 24
Engine rails
|

March 24
Engine rails and bolts are installed!
|

March 24
Scooter rounding the corners on the stuffing box
|

March 24
Stuffing box ready for welding
|
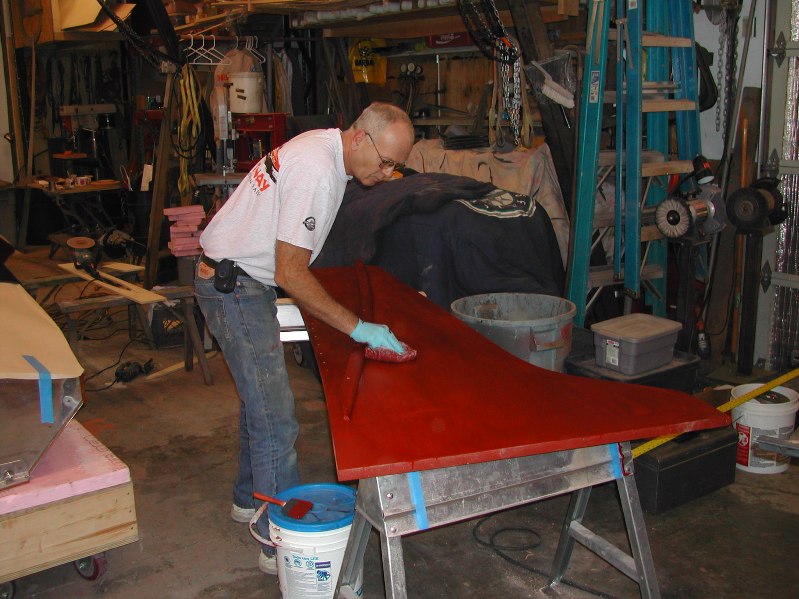
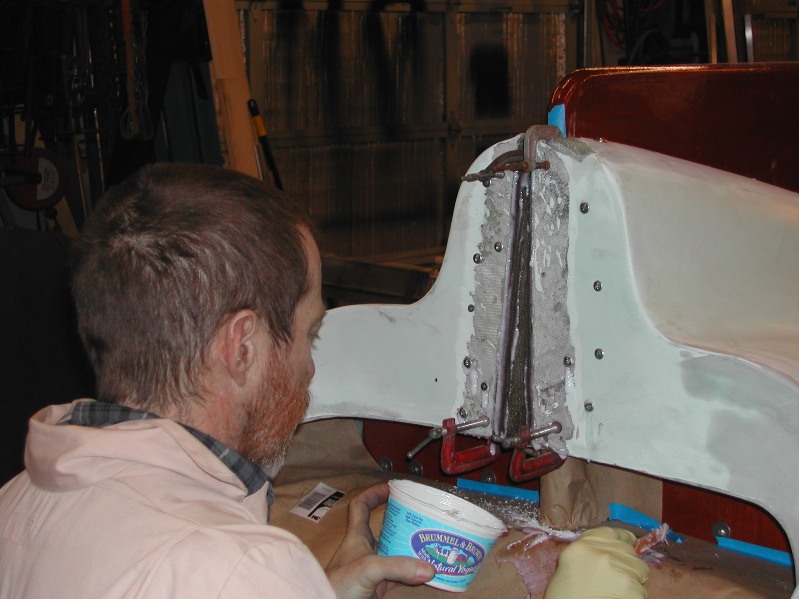
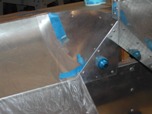
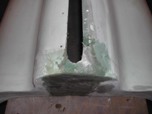
March 24
Epoxy putty on the left rear cowling
|
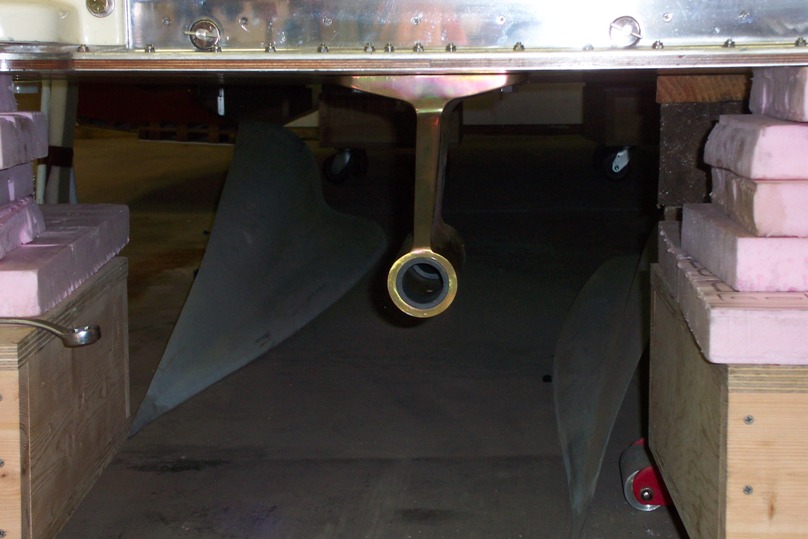
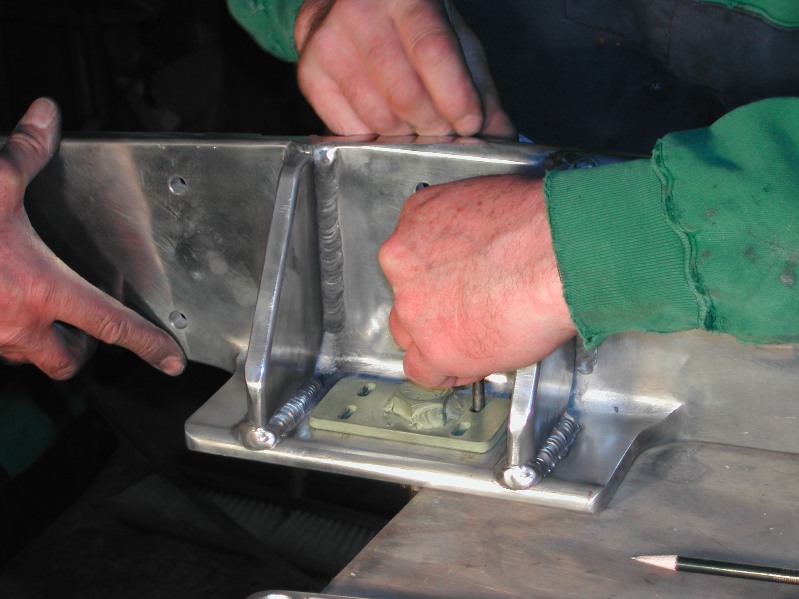
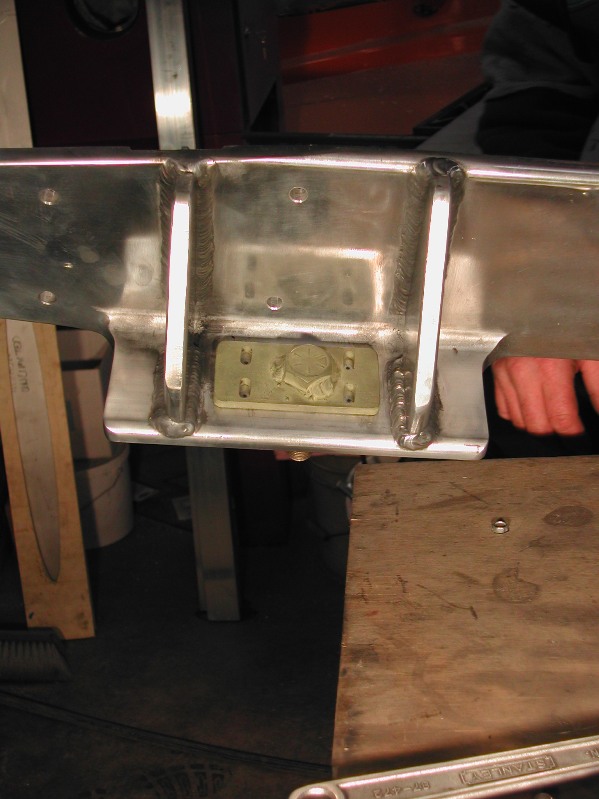
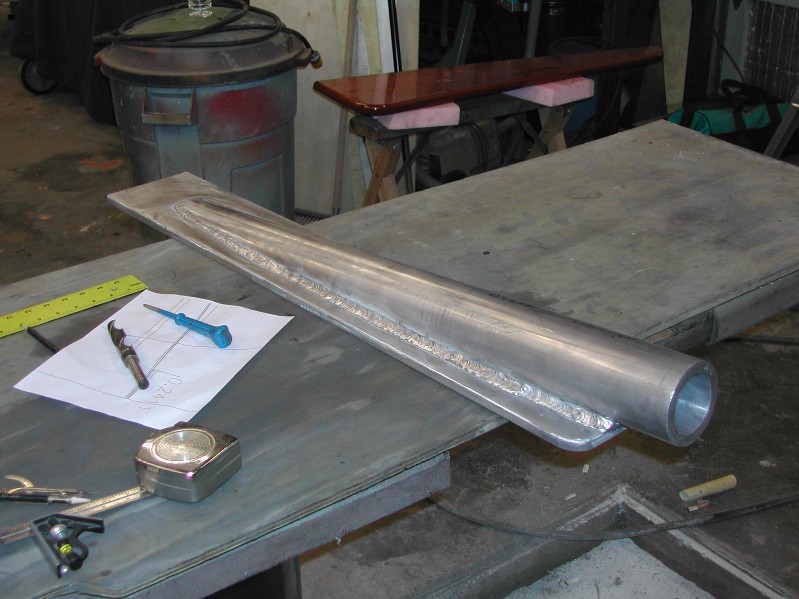
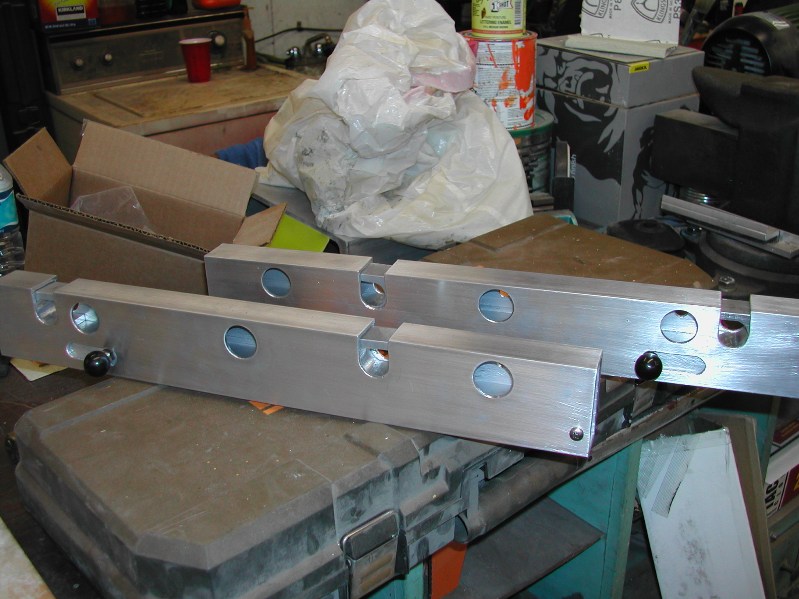
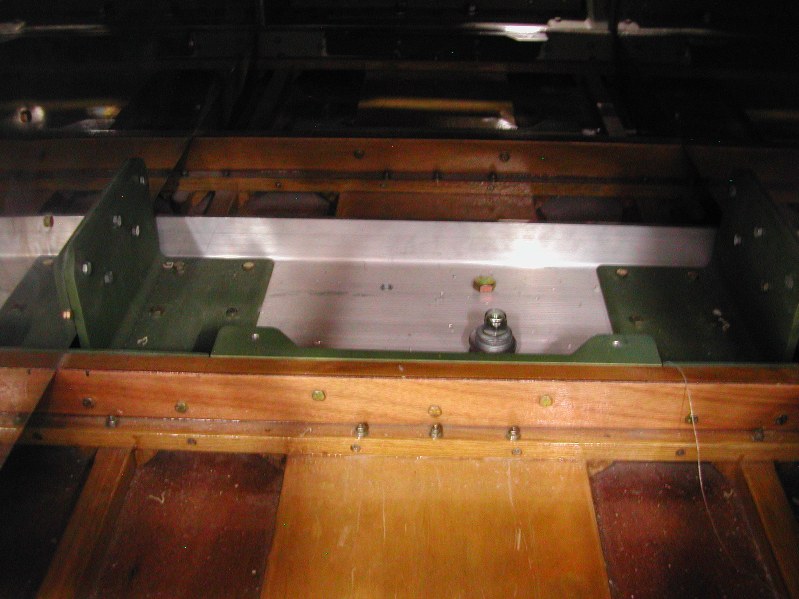
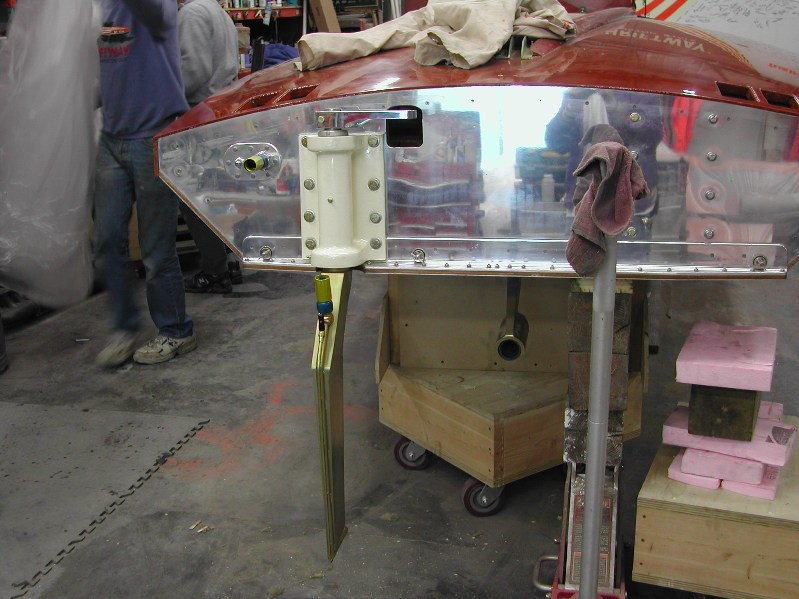
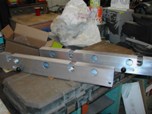
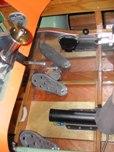
March 24
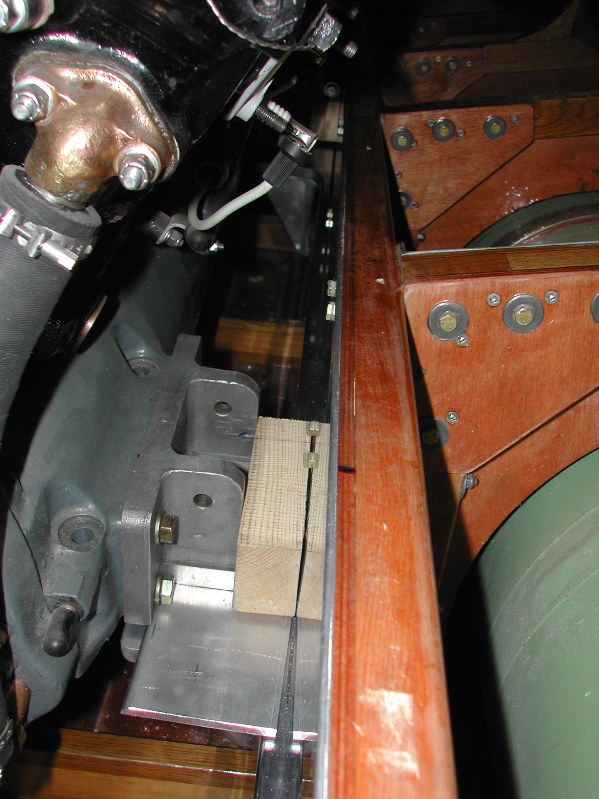
Intermediate strut support
|
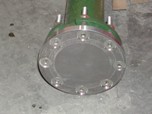
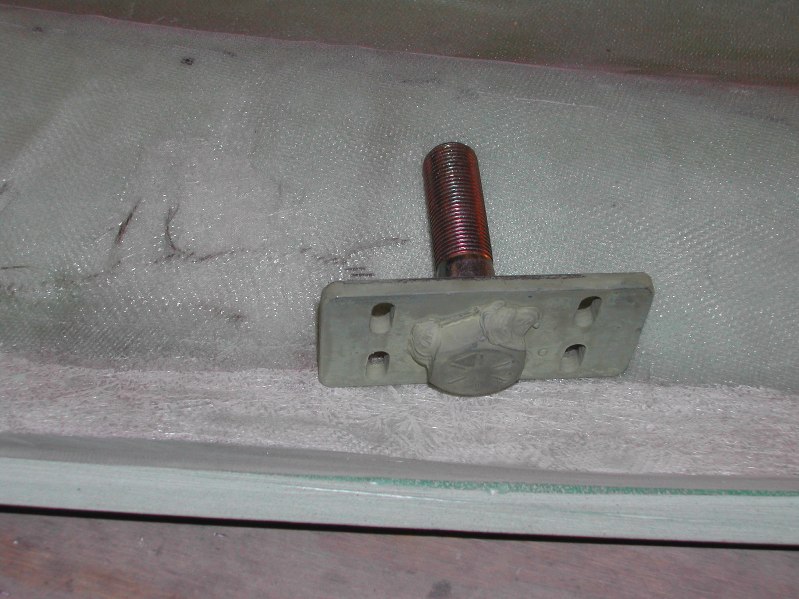
March 24
Shaft alignment plate
|
March 24
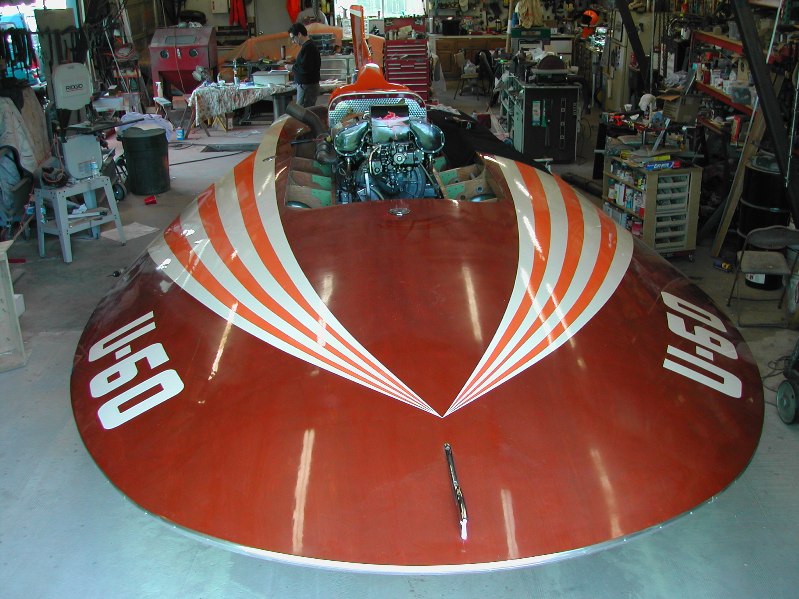
The U-60 Fleet!
|
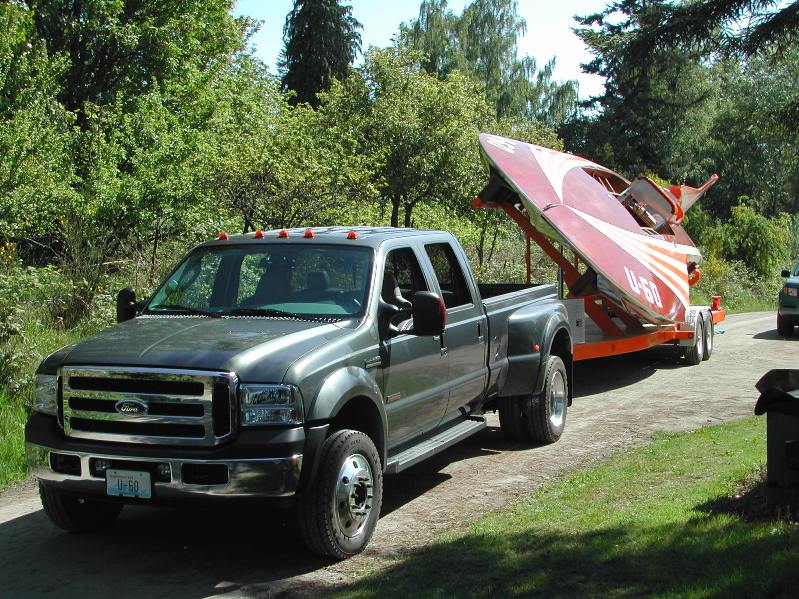
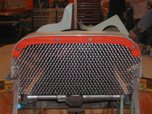
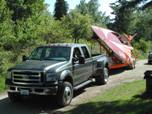
March 24
Our new towing truck
|
March 24
|

March 24
|
March 24
Ed Karelsen talking with Steve
|
March 31
Rob attaching the rear cowlings together
|
March 31
Welded stuffing box
|

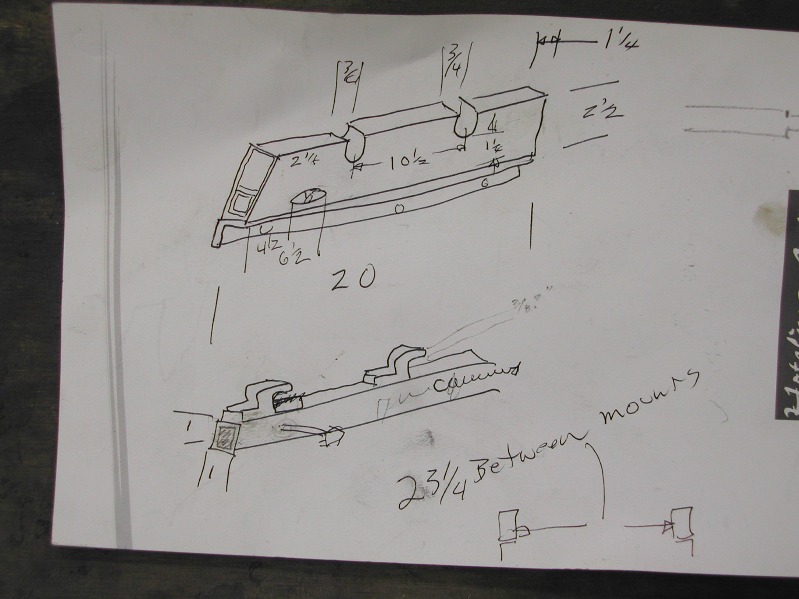
March 31
Sketch for seat attachment
|
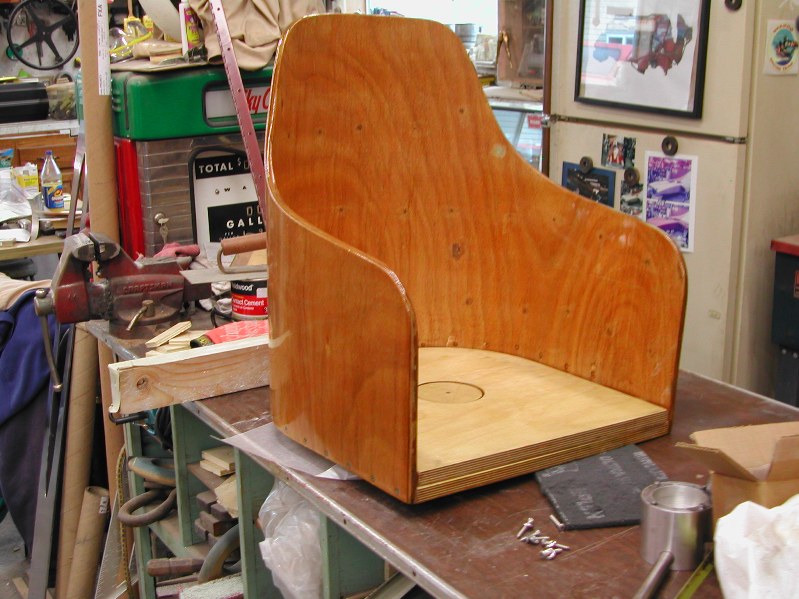
March 31
Alan working on the seat attachment
|

March 31
Ready for upholstery
|
APRIL 2007
April 7
Chief and his quick change seat brackets
|
April 7
|

April 7
Installed!
|
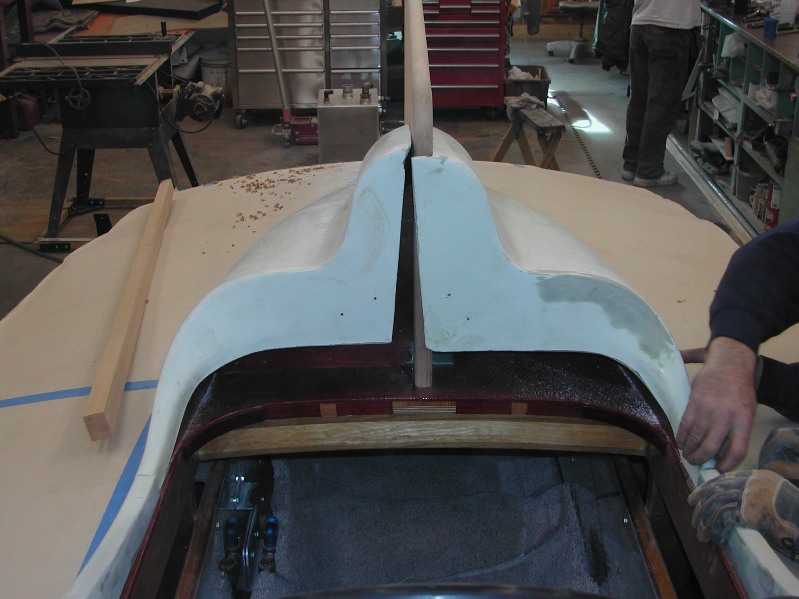
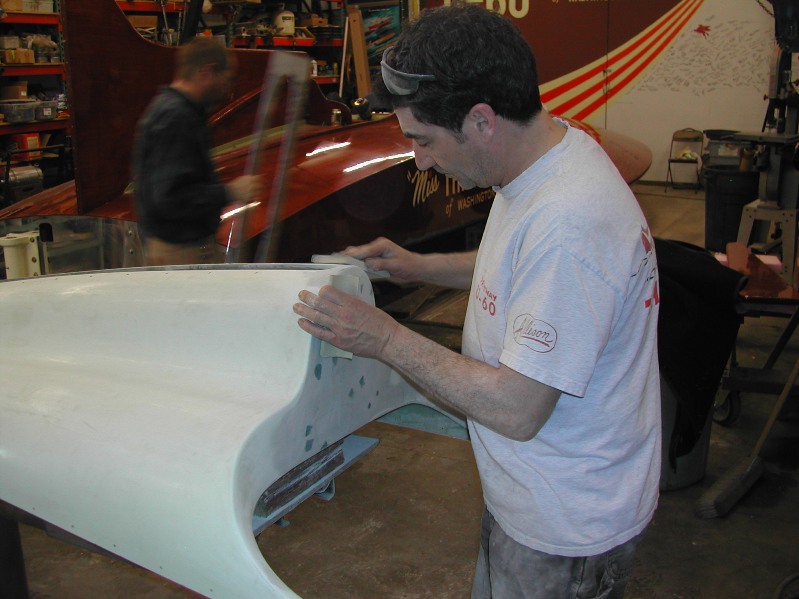
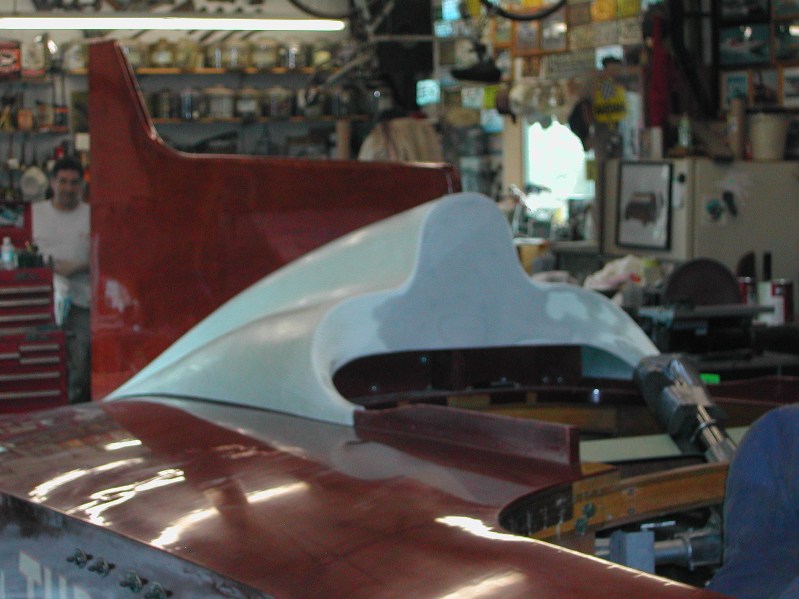
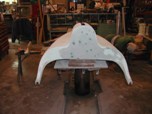
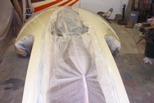
April 7
Form around tail
|
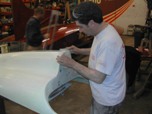
April 7
Alan's getting close
|
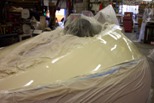
April 7
Final bondo application
|
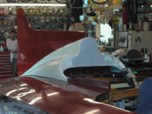
April 7
On boat (sorry for the blurry pic)
|

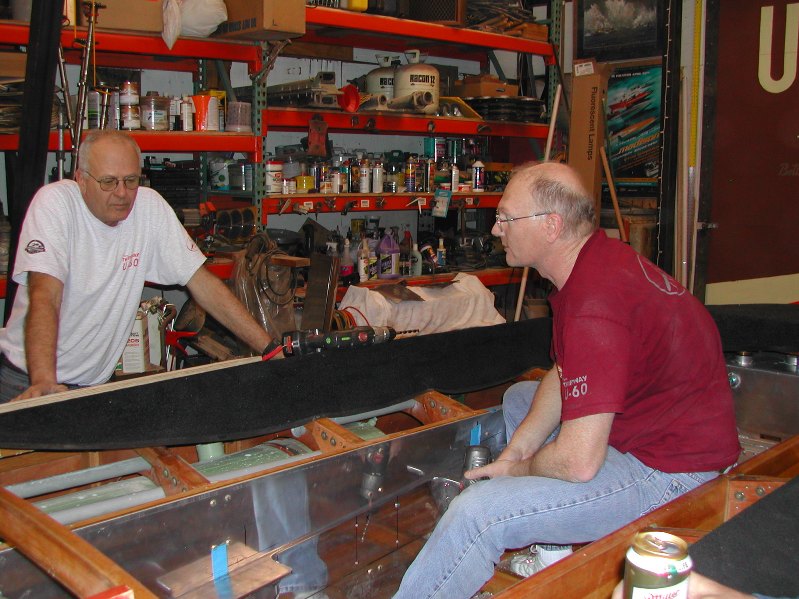
April 7
Bolts for the intermediate strut ended up right in the center
|
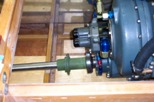
April 7
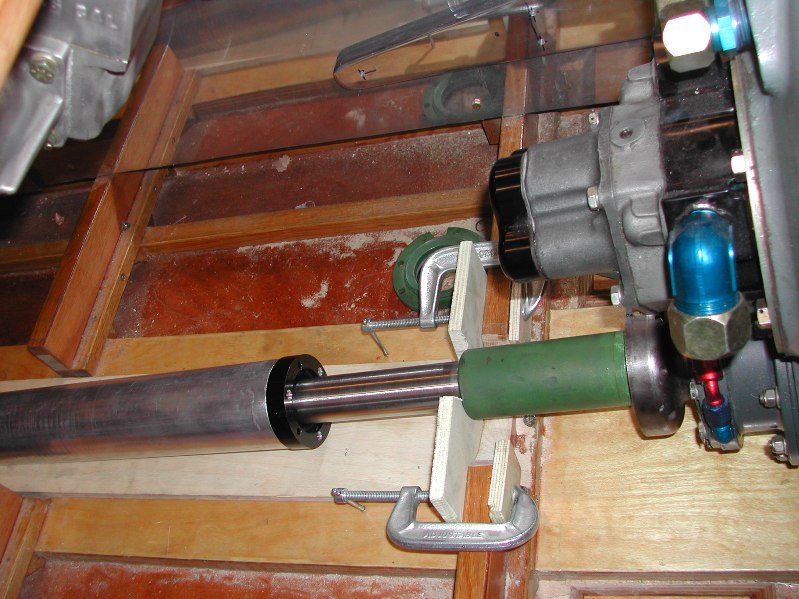
Shaft lines up AND turns with one hand EASILY!
|

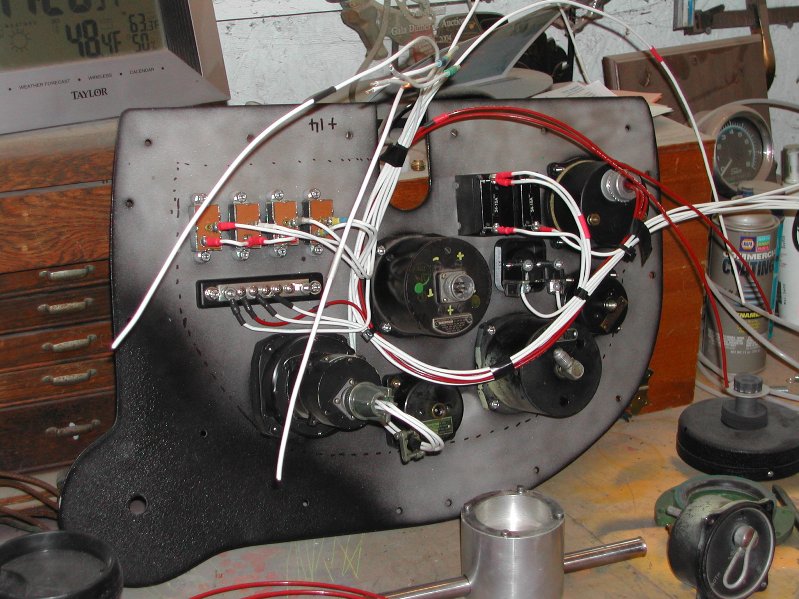
April 14
Dashboard getting wired!
|
April 14
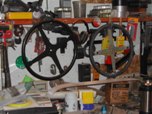
Our steering wheel along side the original from Maverick
|
April 14
Rob and Lloyd drilling holes in the steering linkage for spot welds
|
April 14
Rob putting the finishing touch on the holes
|
April 14
Getting ready for some hoses
|
April 14
Done!
|
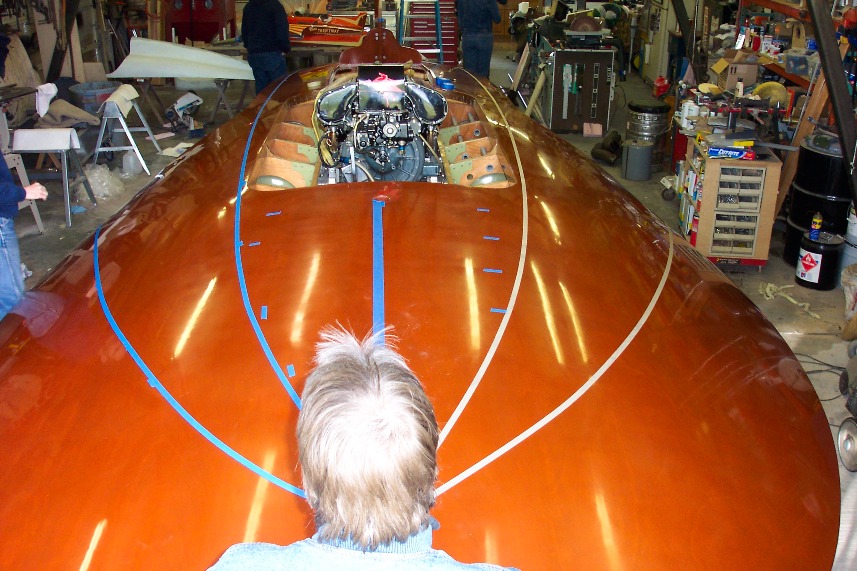
April 15
Don Mock laying out the tape
|
April 15
Looks right!
|
April 15
Now we're getting serious
|
April 15
Larry gets the honors
|
April 15
Ready for ORANGE!
|
April 15
Left side
|
April 15
Striaght on
|
April 15
Right side
|
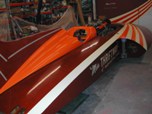
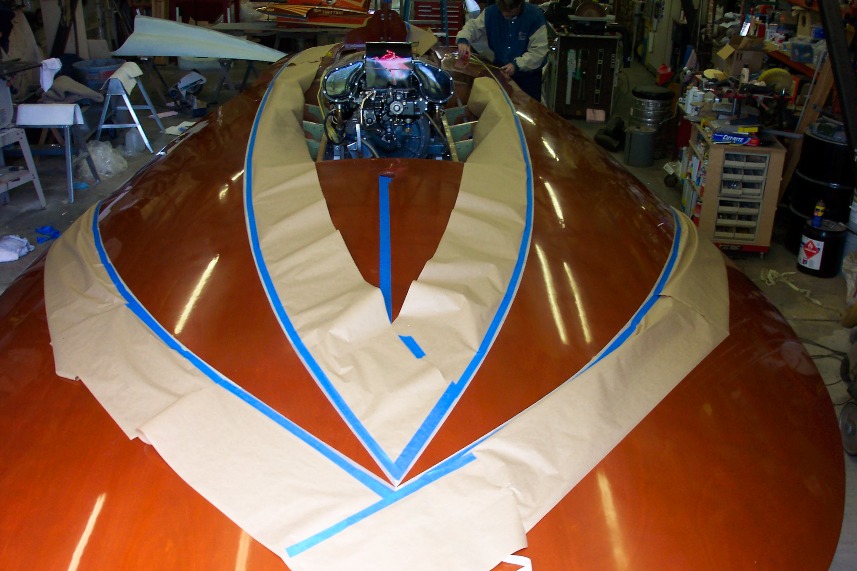
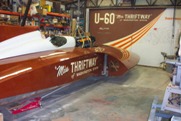
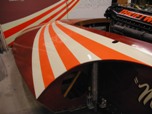
April 21
Stripes and ORANGE!!!!!!
|
April 21
|
April 21
|
April 21
|
April 21
|
April 21
Bow cleat installed
|
April 21
Trim tab bracket
|

April 21
NO! This is NOT for the Chiefs stuff!
|
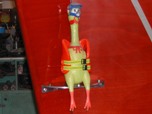
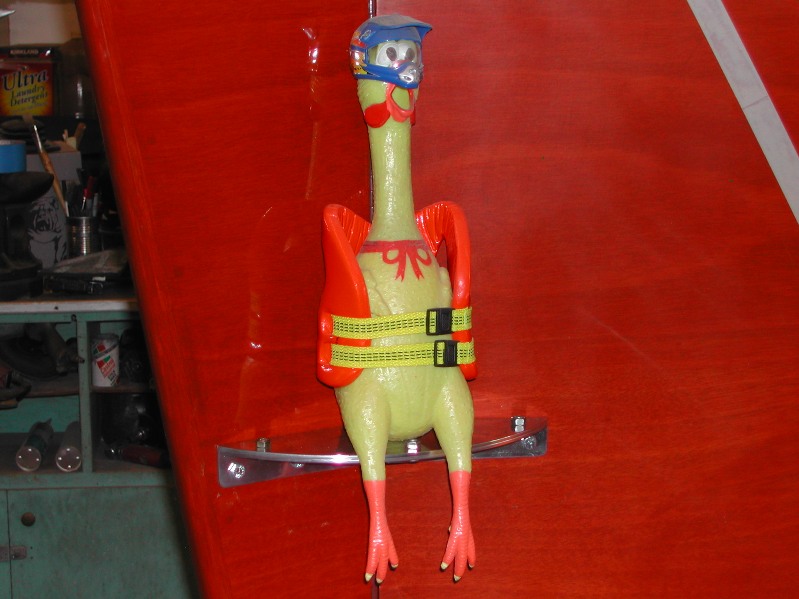
April 21
Chicken Wheeler waiting for his ride!
|

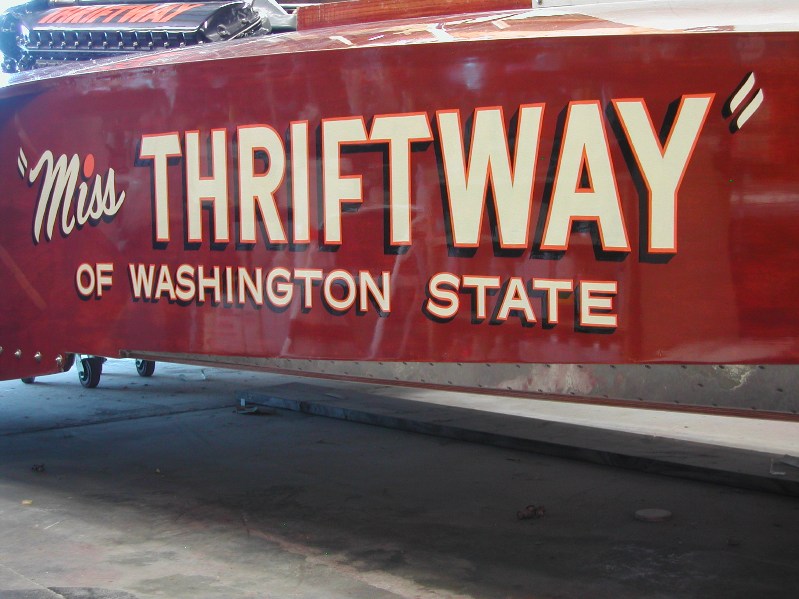
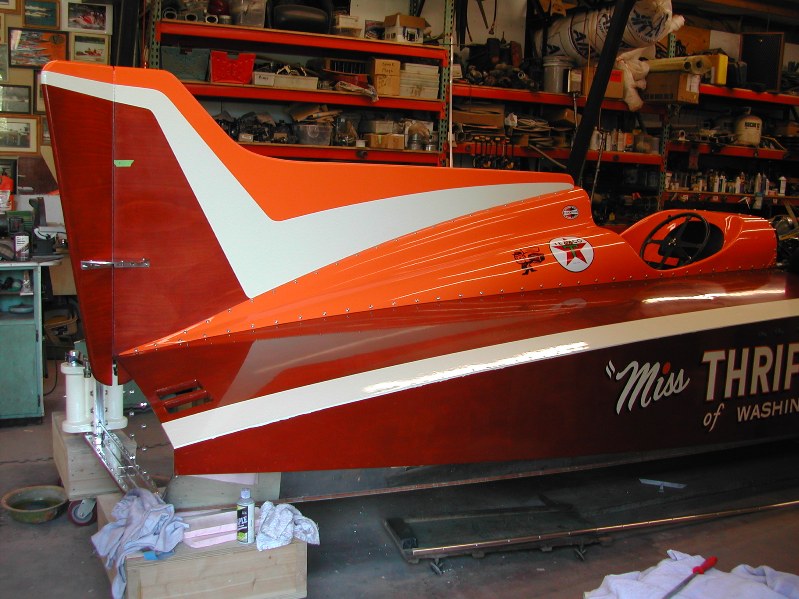
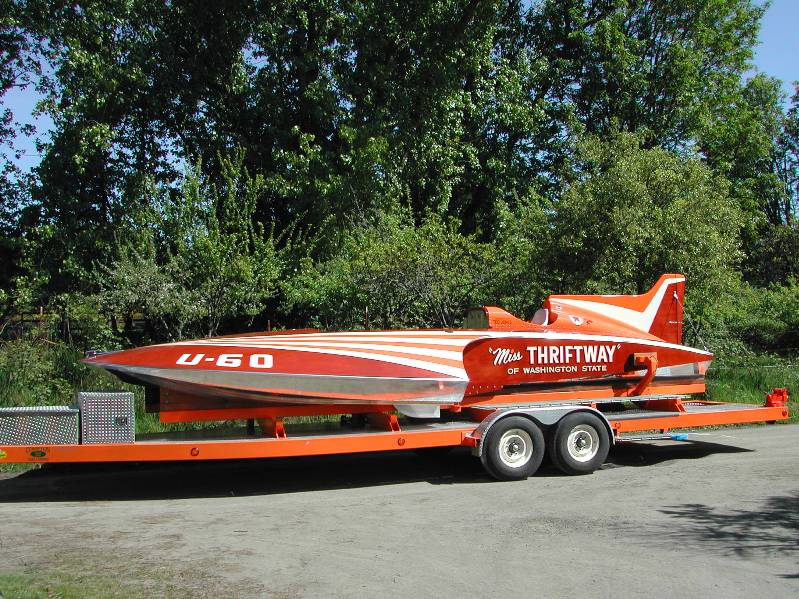
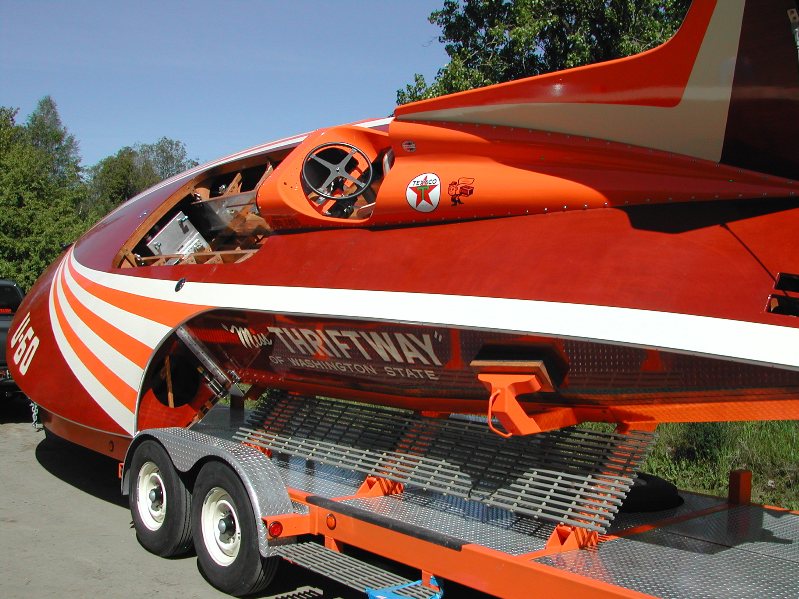
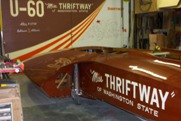
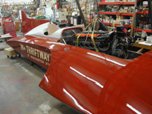
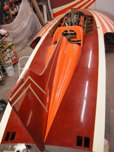
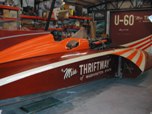
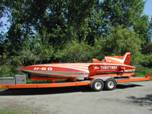
April 28
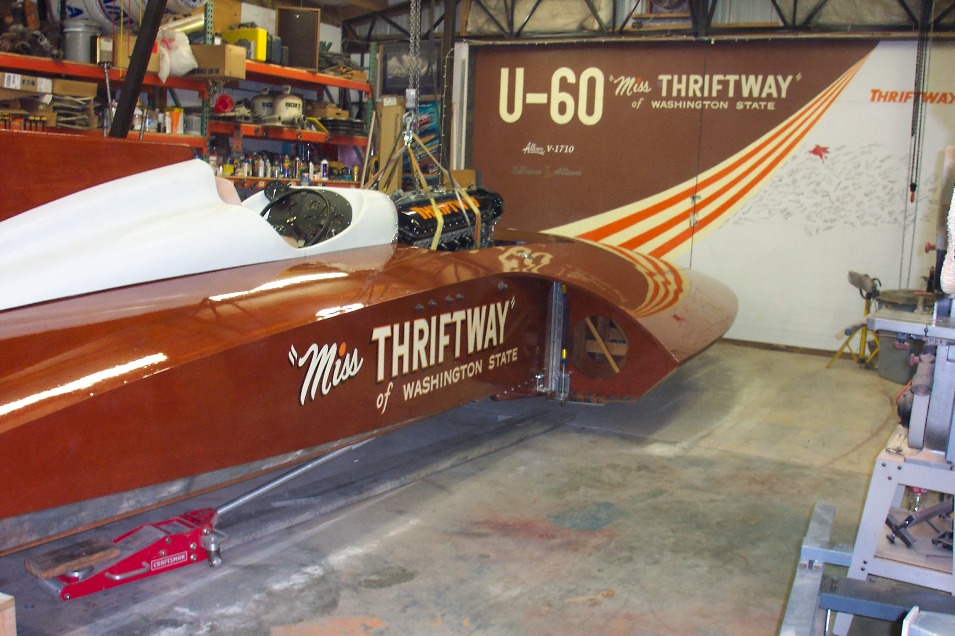
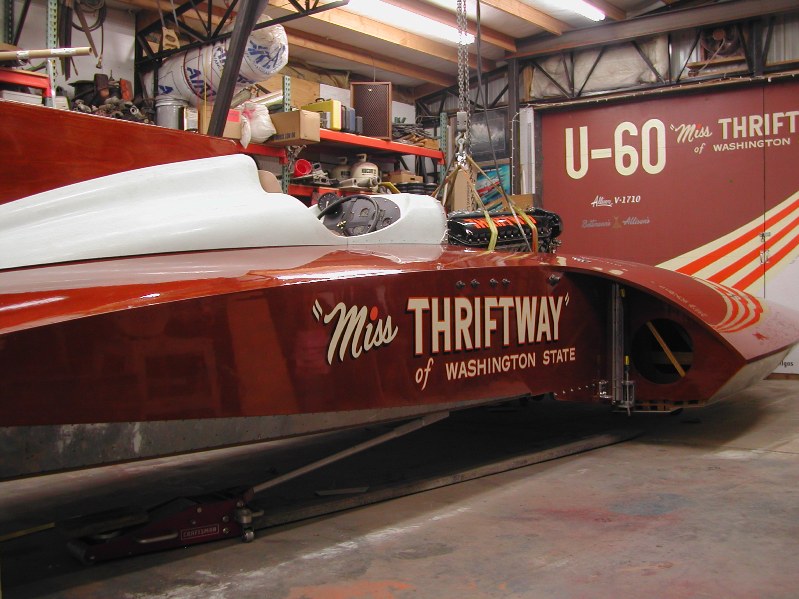
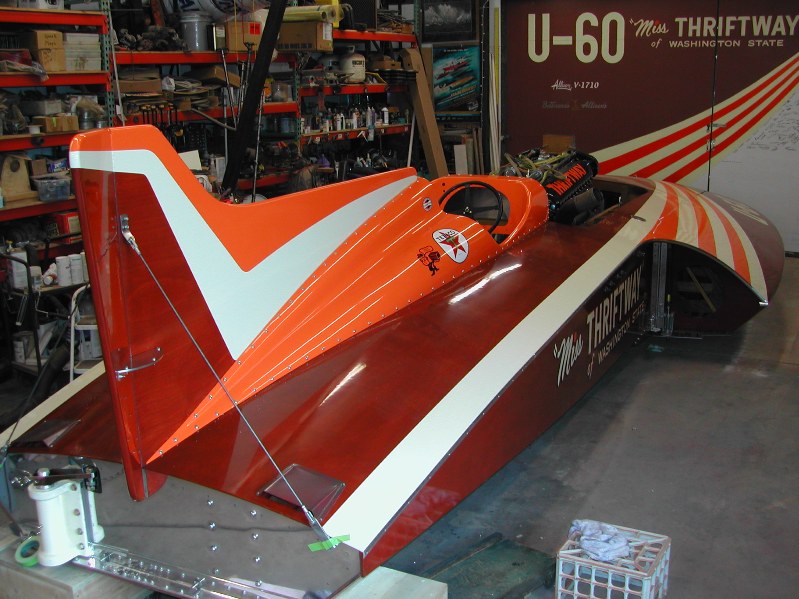
Any question as to which hydro THIS is?
|
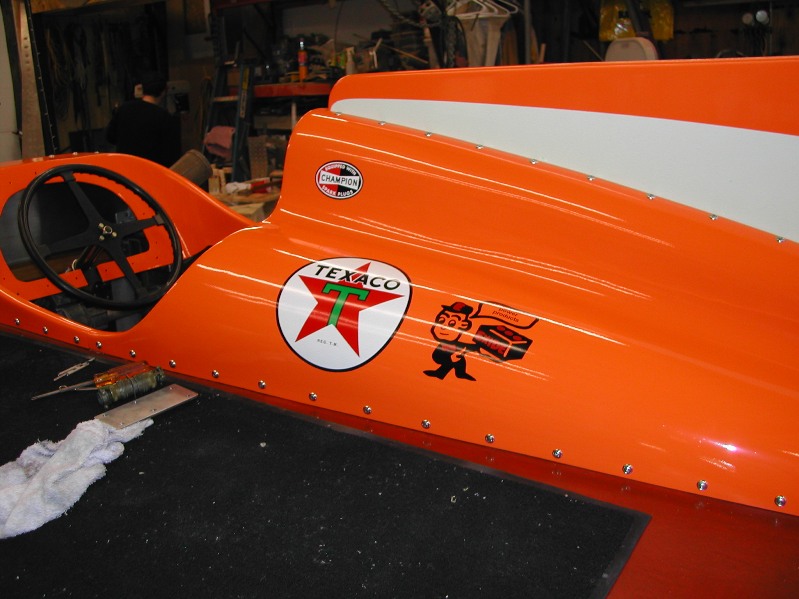
April 28
Decals are on
|

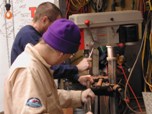
April 28
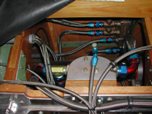
Chief working with the electrical
|

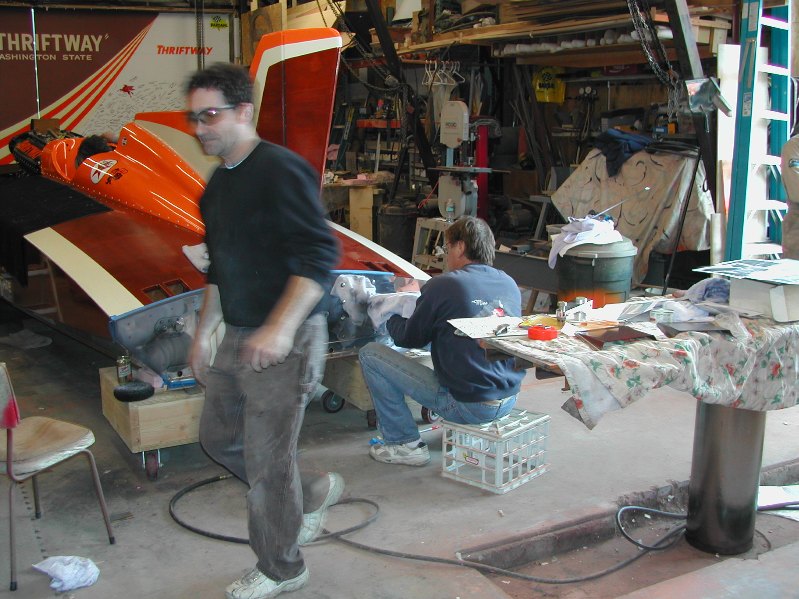
April 28
Lots of activity
|

April 28
|
April 28
|

April 28
|
April 28
|
MAY 2007
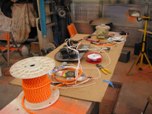
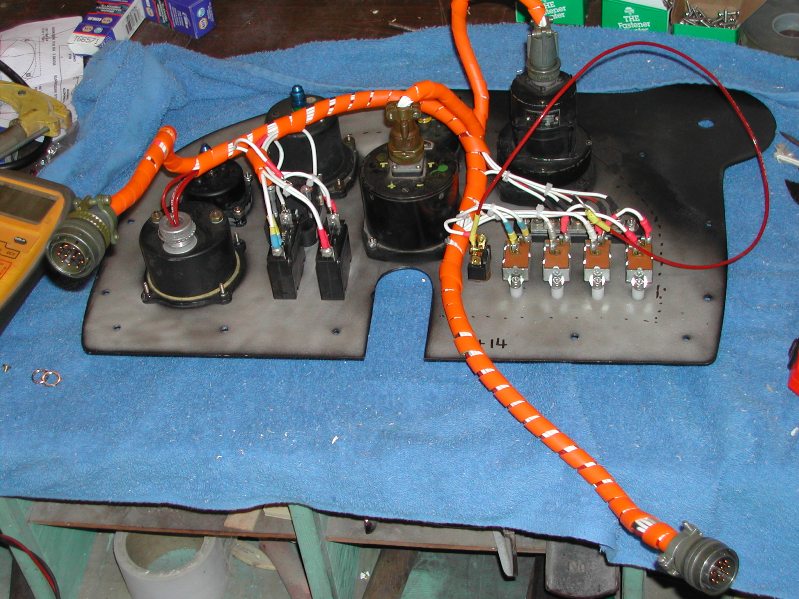
May 5
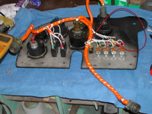
Peter's wiring table
|
May 5
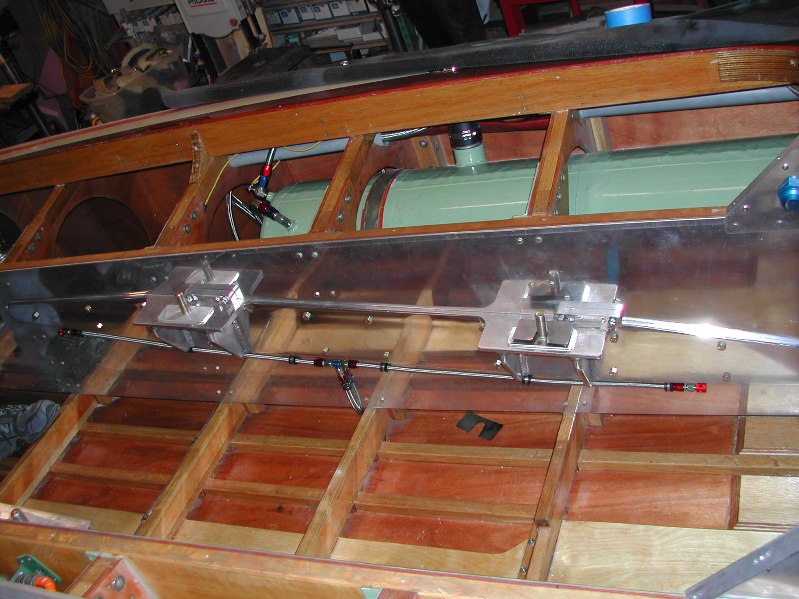
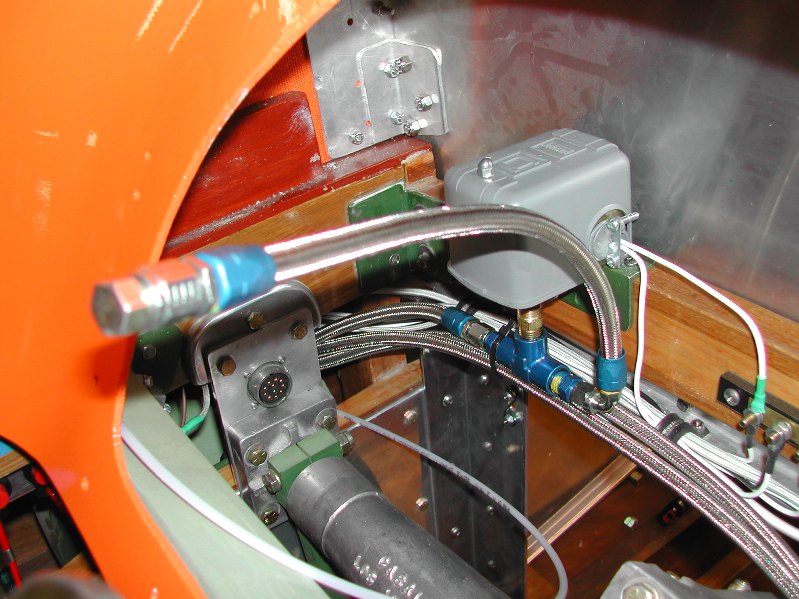
Steering intermediate support (made from Nylon)
|
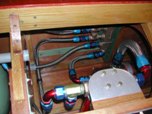
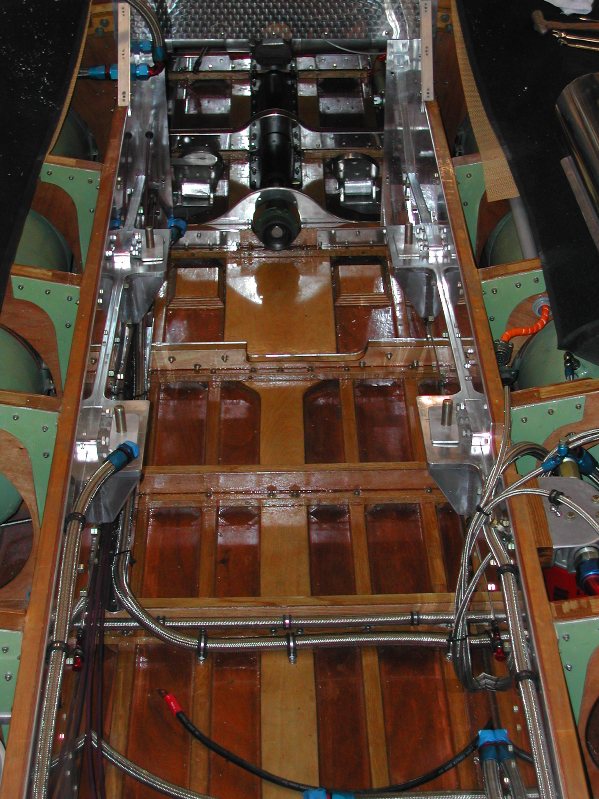
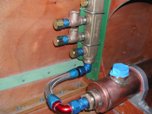
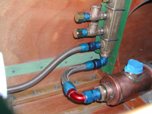
May 5
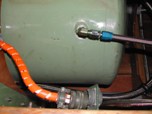
Water and Oil lines
|

May 5
Water and Fuel tank vent lines
|

May 5
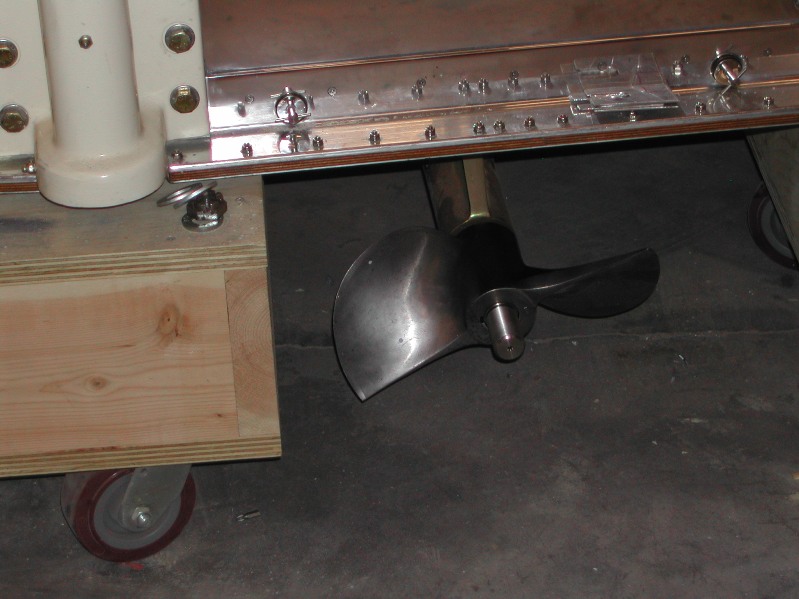
Prop shaft after installation (we just HAD to put a prop on to see!)
|

May 5
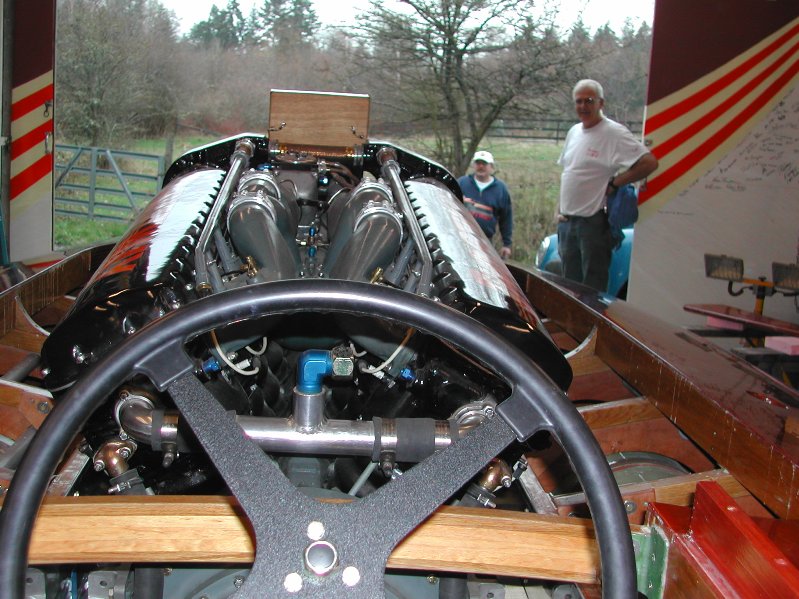
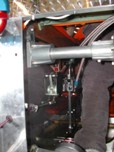
View up the steering hole with engine in place
|
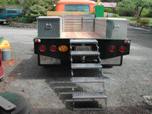
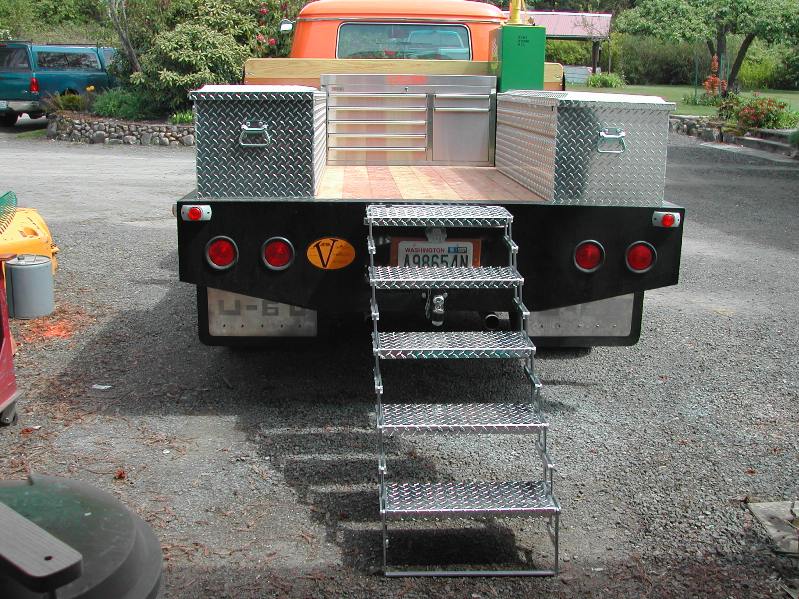
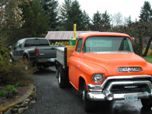
May 5
Larry's new steps for the '55 GMC
|
May 8
Time to get some SUN!
|

May 8
|

May 8
|
May 8
First full tilt!
|
May 8
Look out! Here comes Vashon Unlimiteds!
|
May 12
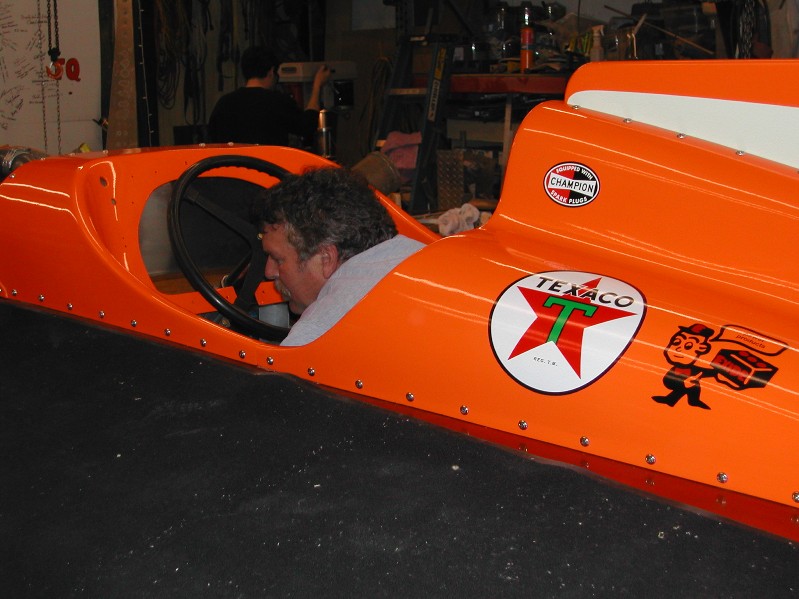
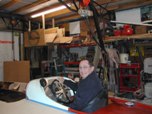
Pete Bertolotti and Bruce Dayz check out the cockpit
|
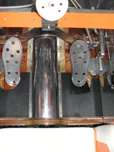
May 12
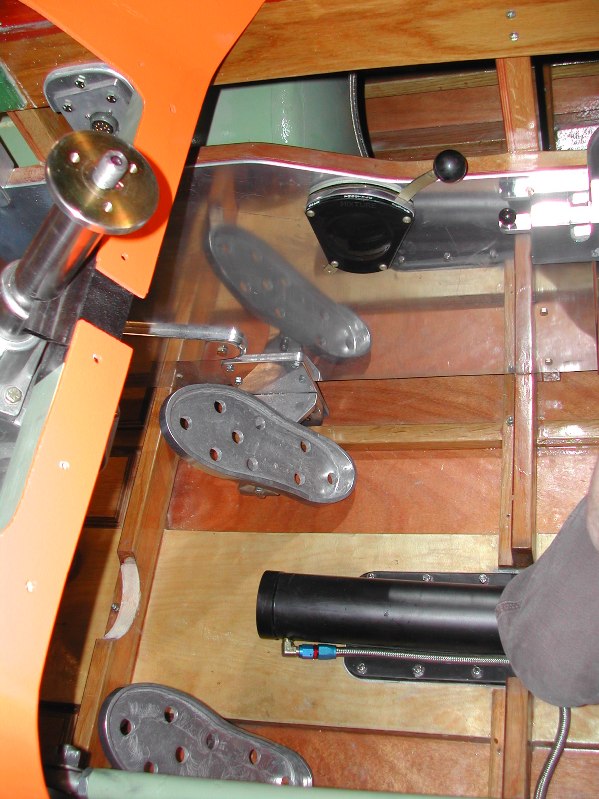
Foot pedals and mixture control are mounted
|
May 12
Engine bay fire suppression heads
|

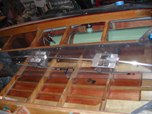
May 26
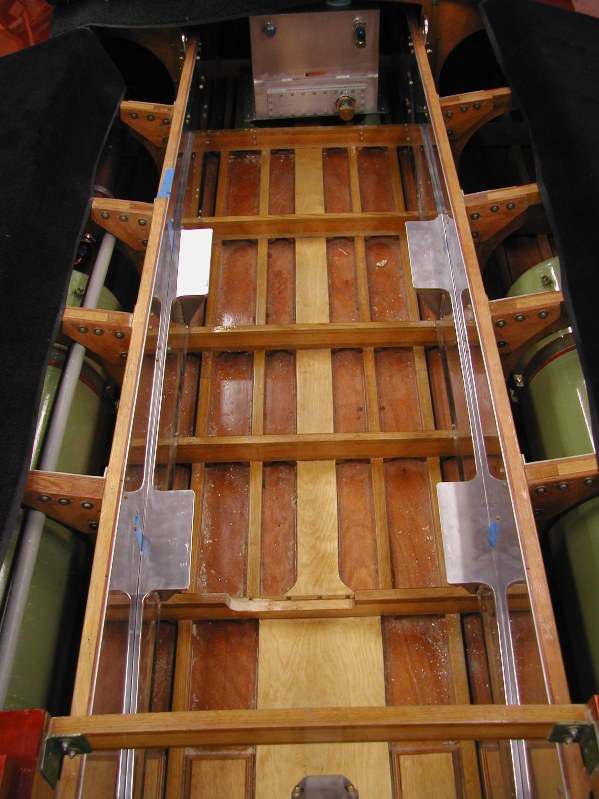
Cockpit floor
|

May 26
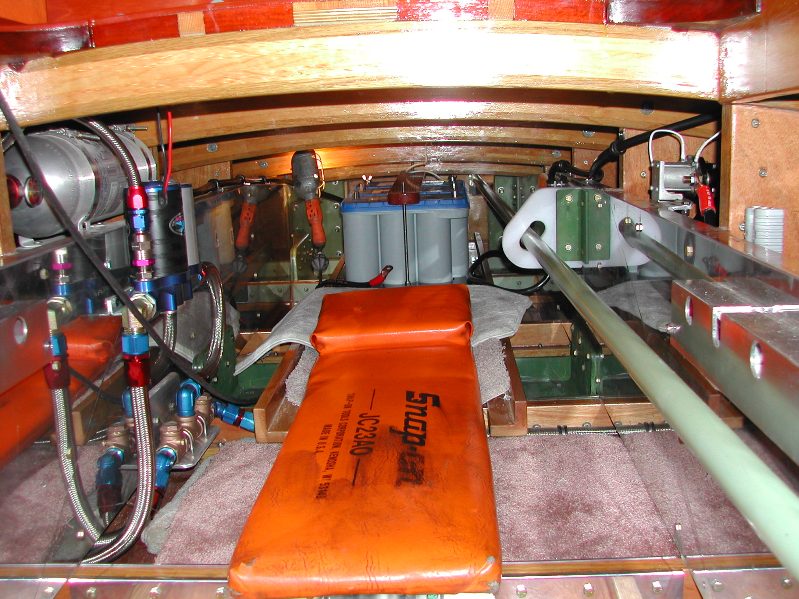
Batteries in place
Fire bottle
(upper left)
Fuel pump (left)
Starter solenoid (rt)
Steering support(rt)
|

May 26
Wind shield
|
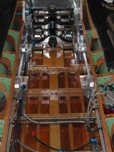
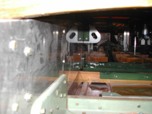
May 26
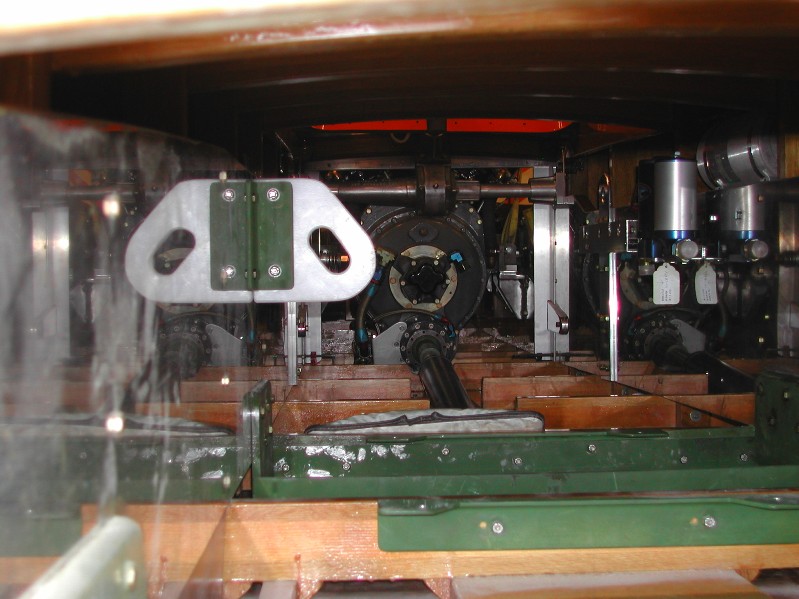
Engine bay
|
May 26
Water distribution block and oil filter
|
May 26
Mixture control
|

May 26
Fuel pump relay
(under dash)
|

May 26
Oil pressure switch
(under dash)
|
May 26
Backside of dash
|
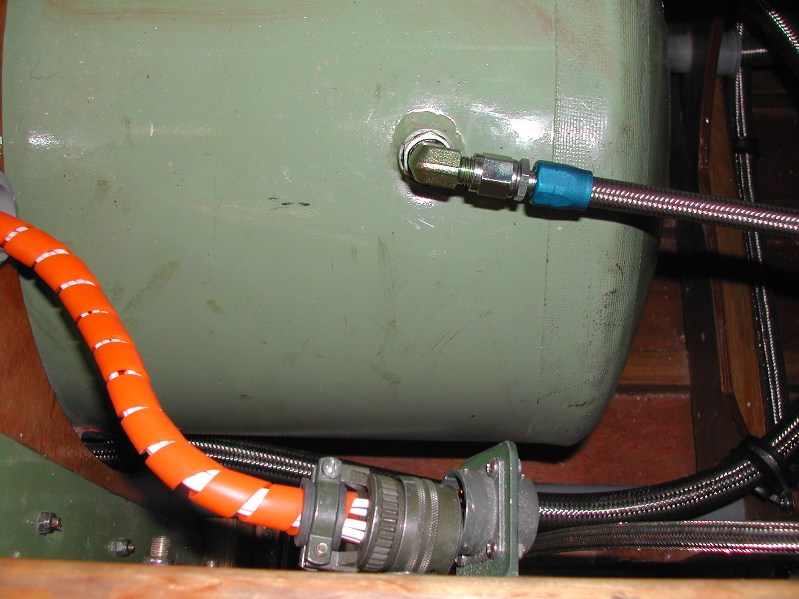
May 26
Engine bay electrical plug
|

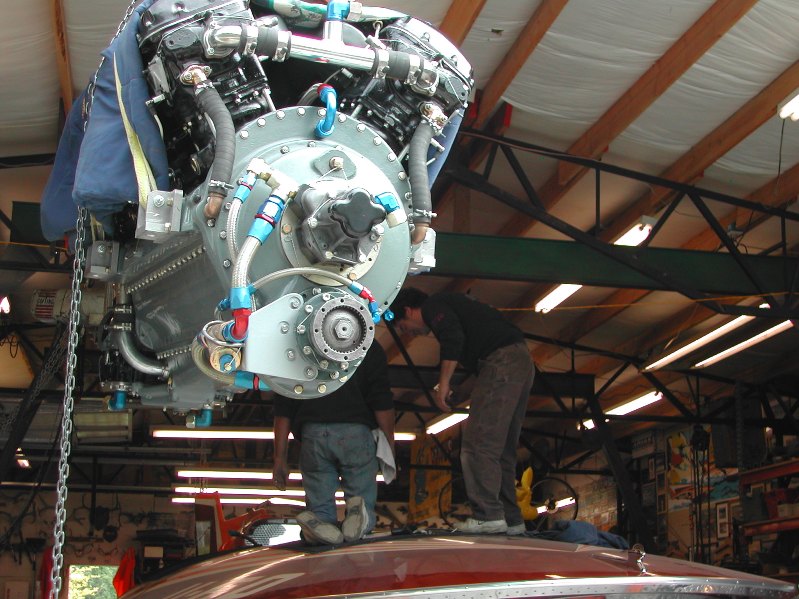
May 26
Engine ready to be installed
|
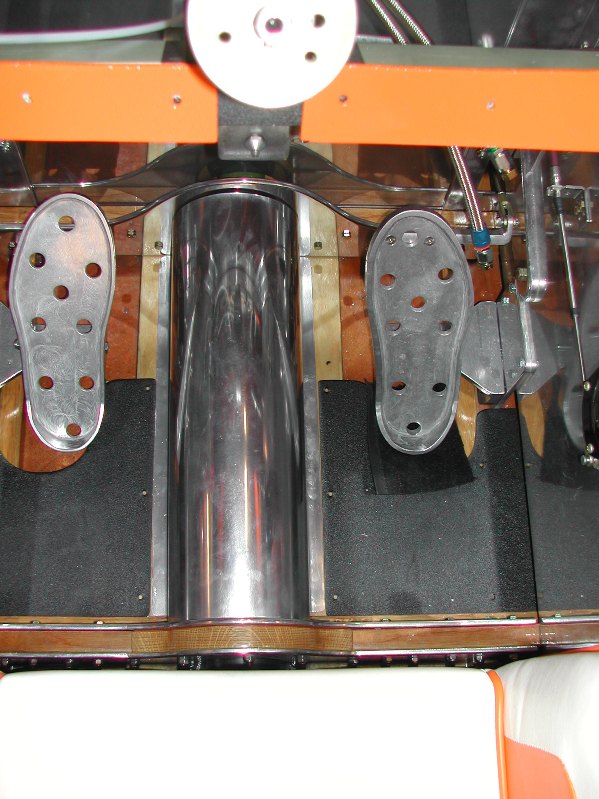
May 26
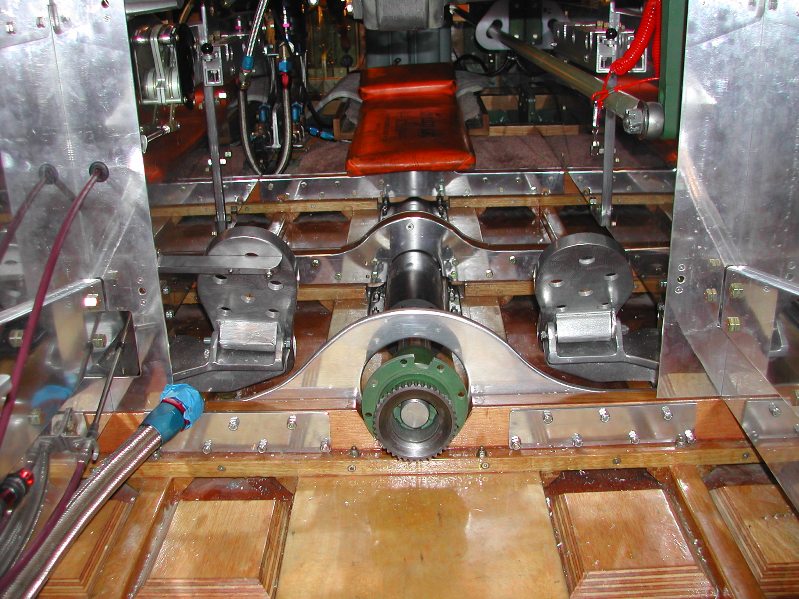
Cockpit floor boards, shaft shield and foot pedals
|
|